A lot can go wrong in the video creation process. Maybe you’ve already experienced this for yourself with distorted audio, harsh lighting, or – heaven forbid! – an entire project lost.
The good news is that you can prevent these issues by going through our 8 step pre shoot checklist. Following these steps will not only lower the risk of common filming problems, but you’ll also be able to save a lot of time when you have a pre-shoot process in place.
Important: When available, we use affiliate links and may earn a commission
Here we’ll be covering the important pre-filming steps that many people forget about (or are just too lazy to do). Plus, we’ll also be sharing the #1 thing you MUST do when you’re finished filming to avoid any costly mistakes!
So if you’re ready to learn about our tried and tested 8-step checklist before filming, let’s jump in!
Steps for Completing Your Pre Shoot Checklist
If your end goal is to create a professional-looking video, then preparation will be the key to your success. Before hitting that red record button, you can save a lot of time and prevent a lot from going wrong by following the 8 steps that we’ll be covering below.
Here’s a quick breakdown of each step to check off before you start filming:
- Step 1: Prepare Your Notes
- Step 2: Check Your Gear
- Step 3: Set Everything Up
- Step 4: Set Up Your Camera
- Step 5: Frame Your Shot
- Step 6: Lock Down Your Focus, Exposure & White Balance
- Step 7: Do a Test Run
- Step 8: Record Your Video
Step 1: Prepare Your Notes
Taking a few minutes to write out some notes on what you want to say in your video can actually save you a lot of time in the long run. That’s why getting together some notes should always be the first step when preparing to shoot your video.

This process will look different for everyone; some of you will prefer to write a basic outline of your content, while others might create a word-for-word script. Whichever one you choose, preparing some notes ensures that you hit all the main talking points and don’t leave anything out.
If you skip this step all together, it’s more likely that you’ll forget to include important details that your viewers should know about.
That means you’ll have to go back and reshoot or edit in additional footage. Either way, these tasks can take time, so avoid them by preparing your notes.
Step 2: Check Your Gear
On to Step #2, checking all your filming gear. This is the part of the process where you check all aspects of your filming gear to make sure you have everything you need to start filming – microphones, camera, batteries, spare memory cards, etc.
For this step, we recommend making a checklist of all the gear you need. Then, before you film, go through the checklist to make sure it’s all there and ready to go. That way, you won’t ever have to deal with the unpleasant surprise of forgetting an essential piece of gear.
Here are a few tips that a lot of people miss when checking gear:
- Memory cards – Make sure you have enough memory card storage to last the amount of time you plan to shoot.
- Backup batteries – Make sure you have spare batteries ready to go, and that they’re charged!
- Power cords/adapters – When possible, plug gear (lights, cameras, microphones, etc.) into the mains power source so that you don’t have to rely on battery power to get you through the entire shoot.
Step 3: Set Everything Up
Once you’ve gone through your gear check, it’s now time to set it all up in Step #3. This may take longer for some of you than others depending on the amount of gear you’re using.

First thing’s first, get your camera set up so that it’s filming at the correct angle and height. Then, set up your lights, adjust the brightness levels, set up microphones if you’re using them, and plug everything in that needs powering.
You get the picture – this step is all about getting set up so that you won’t run into issues while you film.
Step 4: Set Up Your Camera
In the last step, you positioned your camera correctly, but there’s still quite a bit you need to do to get the camera ready for filming. That brings us to Step #4 on the checklist for filming, which is to set up your camera.
During the camera set up, there are a few tasks that should always be on your to-do list:
- Turn the camera on
- Make sure there’s a memory card installed
- Make sure the memory card is properly formatted
- Check the recording format and choose the one that’s right for the camera – MOV, MP4, etc.
- Set your resolution (720p,1080p, 4K, etc.) and the ideal frame rate per second
Even if you’re absolutely positive that all of the camera settings are ready to go from the last shoot, don’t skip this step. It’s worth taking the extra minute or two to confirm all of your settings are exactly where you want them to be before you start filming.
For a more detailed run-through of ideal camera settings, check out our guide on the Best Camera Settings for Videos.

Once you’ve played around with these settings, your camera should be ready to go for filming, and you’re ready to move on to the next step.
Step 5: Frame Your Shot
Alright, on to Step #5, which is to frame your shot.
Start by leveling up your camera so your footage doesn’t look crooked for your viewers. There are a few ways to make sure a camera is level, like using a spirit level on a tripod or utilizing a camera’s built-in level system.

Another option is to just eyeball-it. This isn’t as accurate, but it will at least give you a better idea if the shot looks straight or crooked to the naked eye. If you’re just using your vision, try to use vertical and horizontal lines in the shot to determine if it looks level.
A Quick Note About the Rule of Thirds
For a more aesthetically-pleasing shot, it’s recommended that you use the ‘rule of thirds’. Basically, this is just a way to make the shot more interesting by not having the subject in the exact centre of the frame.
To follow the rule of thirds, you’ll divide the viewfinder with two imaginary lines going horizontally and two going vertically. So the screen is now portioned off into thirds both up-and-down and side-to-side.
Then place your point of interest (your subject) somewhere in the frame where those lines intersect so that he/she is off-center. This is one of the easiest ways to improve the look of your video, and all you have to do is slightly change the camera’s positioning.
It may sound complicated, but the rule of thirds is actually really simple and it’s a great option for framing your shot.

Step 6: Lock Down Your Focus, Exposure & White Balance
Next up comes Step #6, where you’ll be locking down three important camera settings: focus, exposure, and white balance.
We cannot stress enough how important it is to have each of these on a manual setting. If you leave these on an auto setting, there’s a chance that they’ll change throughout the shoot if the lighting changes, and that can be extremely distracting for your viewers.
Below you’ll find some basic info on how to manually set your focus, exposure, and white balance:
- Focus: Setting your focus is really simple; just make sure that the subject of the video is in focus and doesn’t look blurry.
- Exposure: This is the brightness/darkness of your shot which is controlled by adjusting your ISO, shutter speed and aperture.
- White Balance: This is the color temperature that determines the overall look and feel of the video. Most cameras have presets for this and some even have more advanced options for setting the color temperature number (AKA Kelvin number).

If you do have a more advanced camera and you’re able to set the Kelvin number, try to set it to match the lights that you’re already using in the scene.
Why It’s Not Recommended to Use Auto Settings
Locking down your focus, exposure, and white balance gives you complete control over the look and feel of the shot. The main reason it’s not recommended to use Auto mode while filming is that the shot can change based on environmental factors around you.
Say for example a cloud passes over the previously brightly-beaming sunshine. If the camera is set to Auto mode, it will automatically make adjustments to compensate for the change in light from the cloud coverage.
This can end up ruining the shot, meaning you might have to film it all over again. The easy solution is to get rid of those auto settings and lock everything down manually.
Step 7: Do a Test Run
Before you get into the video shooting, Step #7 is to perform a quick test run. This will give you a chance to check out the lighting, audio, and fix any flaws that need fixing.
For the test, set everything up as if it’s the real thing, sit exactly as you plan on sitting in the video, press record, and present for 10 to 20 seconds to see how everything is reading.
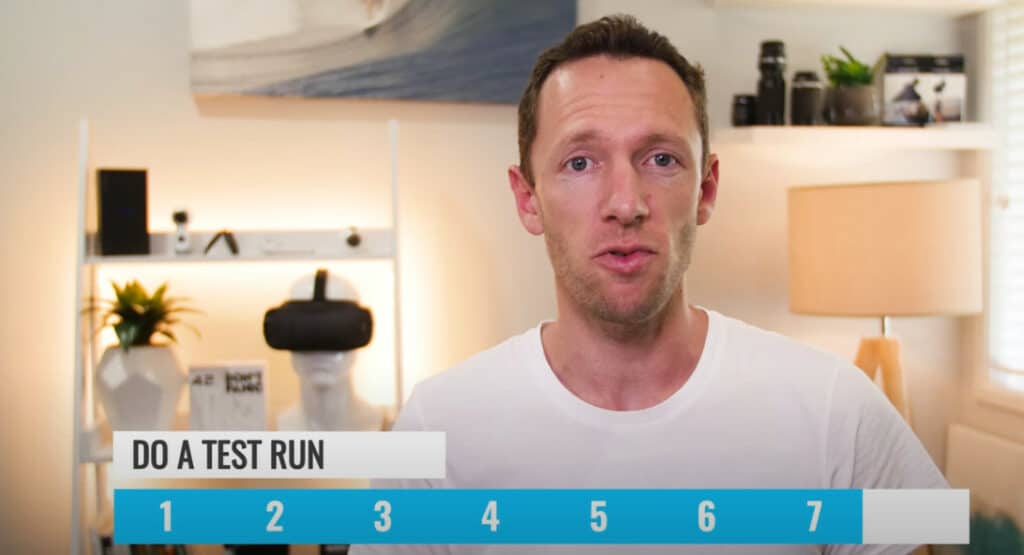
When you playback your recording, try to plug in a set of headphones to check the audio. As you watch the test video, pay close attention to things like lighting, focus, and white balance to see if any minor adjustments need to be made.
Even if you think it’s unnecessary to do a test run, this is a real time-saver, and the best part is that it will only take a few minutes of your time.
Step 8: Record Your Video
You’ve finally done everything possible to prepare for filming, so now it’s finally time to hit that red record button in Step #8.
Now you can relax as you film knowing that you’ve done everything necessary to be fully prepared for your shoot. You’ve prepared your notes, checked your gear, framed your shot, locked down your settings – you’ve done everything you needed to do to get to this point!
#1 Thing to Remember Once Shooting Is Over
Now that we’ve gone through the 8-step pre shoot checklist, there’s one more thing to cover, and that is the importance of backing up your files.
Immediately after you finish your shoot, BACK EVERYTHING UP! We cannot stress enough the importance of this, unless you want to risk losing everything and have all your hard work go to waste.
The moment that you can duplicate your footage, do it. You can even start the backup process while you’re shooting; whatever you do, make sure you have at least 2 copies of your footage at all times.
To help you with this, it’s a good idea to invest in an external drive or additional SSD card for storage. Check out our guide to the Best External Hard Drives and SSDs for Video Editing to learn which products we recommend.
Your Pre-Filming Checklist Is Complete!
There you have it – the complete checklist for filming. Performing this checklist each time you shoot will help you save time, lower the risk of filming issues, and make your life easier overall.
Our 8 step process covers everything that needs to be done before you hit record so that while you’re filming, you can focus on creating a quality video that your viewers will love. And remember, once the shoot is complete, perform your backups!
When it comes time to start editing your videos, be sure to check out our step-by-step process to cutting your video editing time in HALF.
Links
When available, we use affiliate links and may earn a commission!
Recommended Tutorials:
- The Ultimate Guide to the Best Camera Settings for Video
- Best External Hard Drives and SSDs for Video Editing
Recommended Gear & Resources
Check out an up-to-date list of all the gear, software & tools we use and recommend right now at Primal Video on our resources page here!
Related Content


