In this guide, we’re going to cover exactly how to screen record on Windows PC.
We’ve tested all the leading options & narrowed it down to the best screen recorder options for PC right now!
There are lots of different reasons you might want to record your computer screen. You might want to demonstrate a process, teach people to use something online, record a presentation with slides or you could even use a screen recorder to capture b-roll for your video projects.
Since our last review, some great new screen recording software has become available, making the process to record your screen faster and easier.
From great free screen recorders for Windows up to paid options that allow you to record PC screen - there’s a number of tools you can choose from.
Here’s exactly what we’ll cover:
Let’s dive in so you can learn how to record your screen!
Screen Recording Software #1: Built-in Windows App
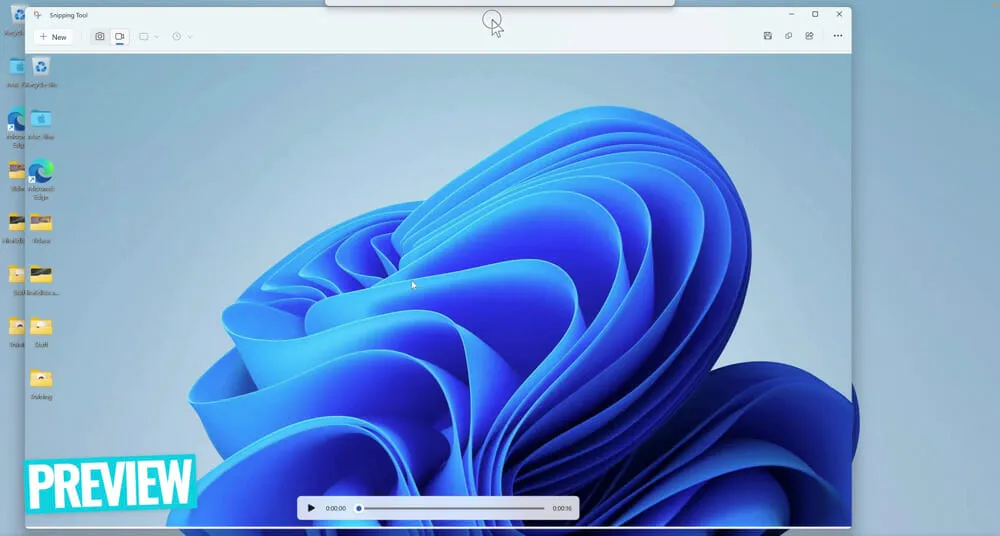
The built-in Windows option is called the Snipping Tool and it’s come a long way with the release of Windows 11!
To access it, click the Start button and search for ‘Snipping Tool’.
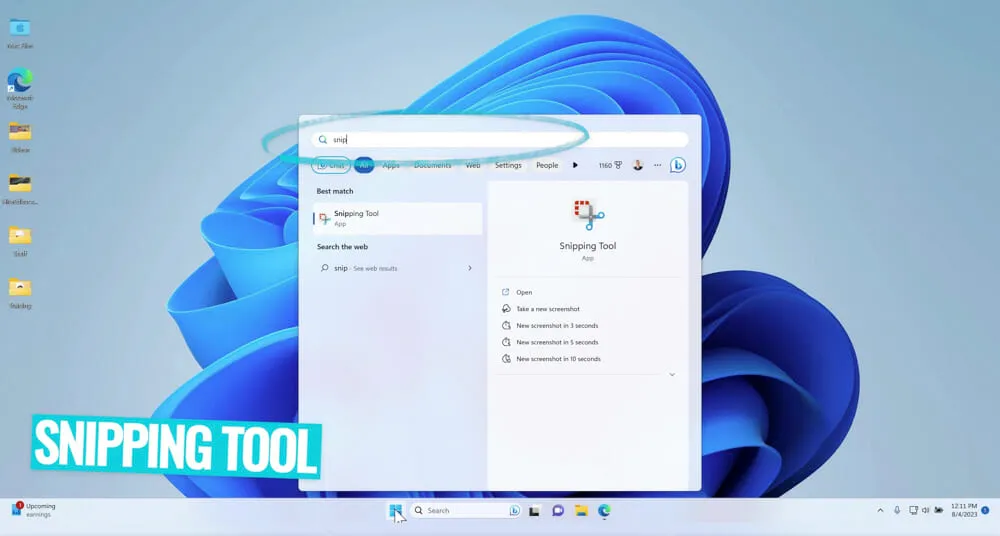
This will open a small pop up window.
This tool used to just be for capturing static images and screenshots on your computer but now it can be used for creating videos and screen recordings.
To get started, make sure the Record icon is selected and press New.
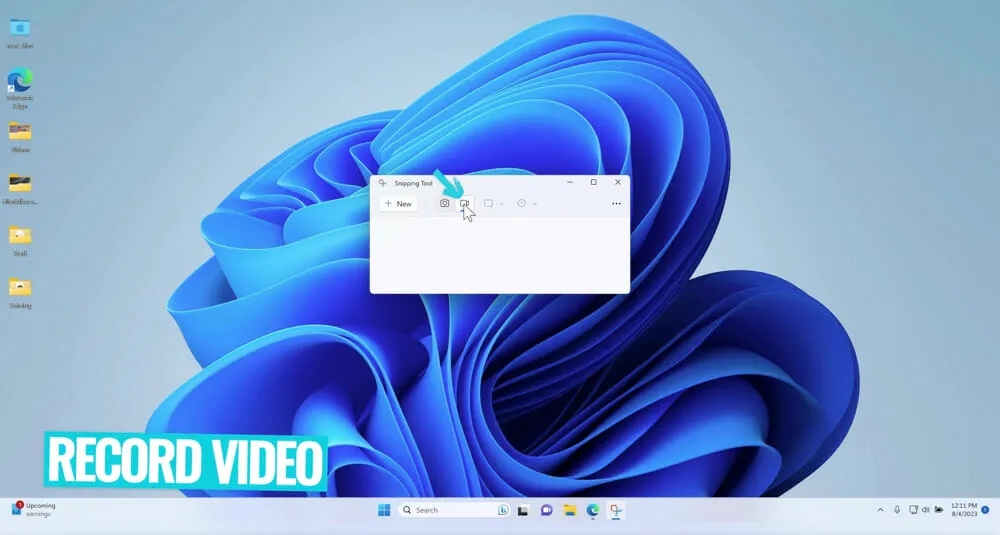
You can then select the area of your screen that you want to record.
Once you’re happy with the recording area, hit Start. There’ll be a countdown timer and then your video recording will begin.
In the toolbox at the top of your screen, you can:
- Pause recording
- Stop recording
- View recording duration
- Delete recording

When you’re ready to end the recording, press Stop. Then a preview of the video will open.
From here, you need to save the file. Press the Save icon in the top right corner. Select a location, give the file a name and press Save.
Overall, this is a super quick and easy to use desktop screen recorder tool. It doesn’t have any advanced features but it’s a solid option if you’re looking for a free screen recorder.
Screen Recording Software #2: Clipchamp
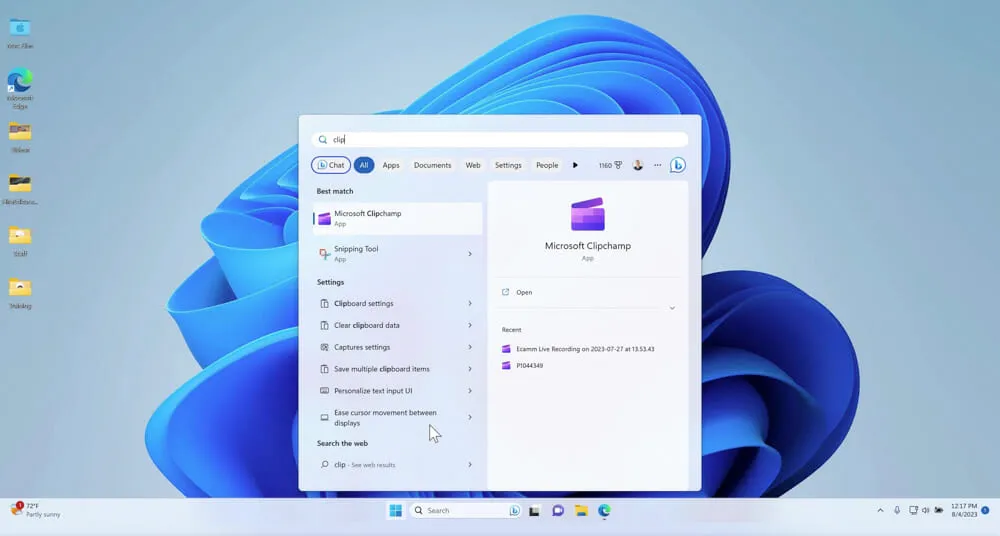
The next screen recording tool is Clipchamp, which is also now built-in to Windows computers.
To access it, press Start and search for ‘Clipchamp’.
If you don’t already have it installed, it will prompt you to install it at this point.
Once you’ve installed and opened it, you’ll be taken to the main interface.
From here, select Create a new video. In the left menu bar select Record & Create.
Then under the Record section you have multiple options depending on the type of recording you want to create:
- Computer screen and camera
- Camera
- Computer screen
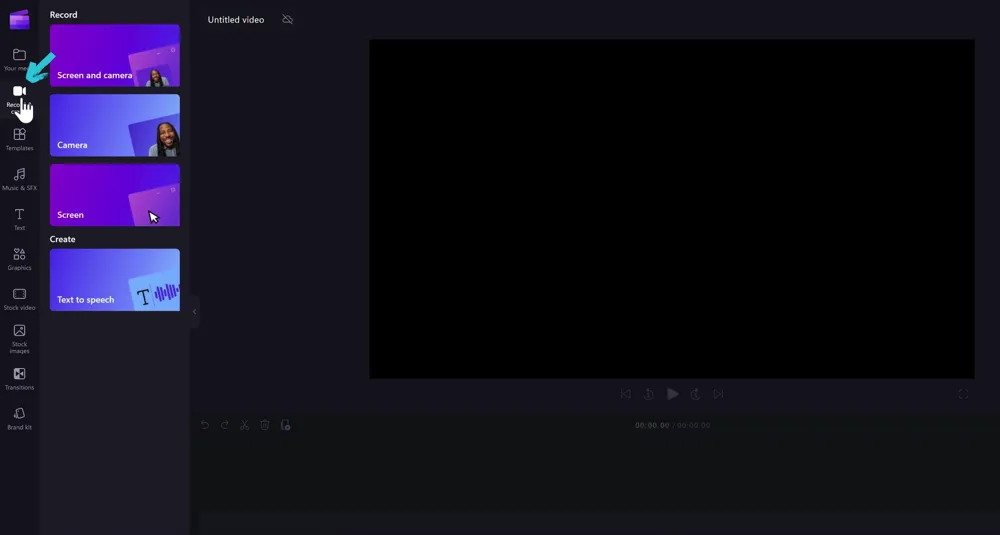
We’re going to go ahead and select Screen and camera.
Now you’ll be taken to a new window where you can access all the relevant settings.
Recording Options & Settings In Clipchamp
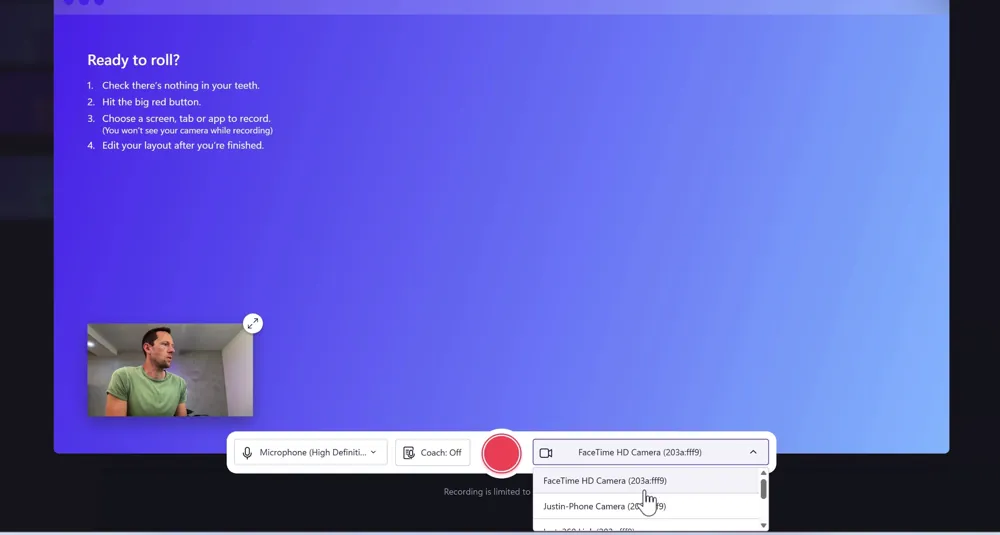
In the new window is where you can set all the relevant options for your recording. You can access:
- Microphone: Which microphone you want to use for the recording
- Speaker Coach: This provides an analysis of your speech (e.g. pace, pitch, filler words)
- Record: Hit this to start recording
- Camera: Which camera you want to use for the recording
You’ll also see a preview of your camera in the bottom left corner so you can check that everything looks good on that end.
How To Screen Record On Windows with Clipchamp
Before starting the recording, note the disclaimer at the bottom of the screen that says ‘Recording is limited to 30 min’.
So because this is the free version included with Windows, there are restrictions.
If you want to access longer recordings and to record at resolutions higher than 1080P, that’s where you’ll need to jump on a paid plan. More on that shortly.
Now that you’re all good to go, press the Record button.
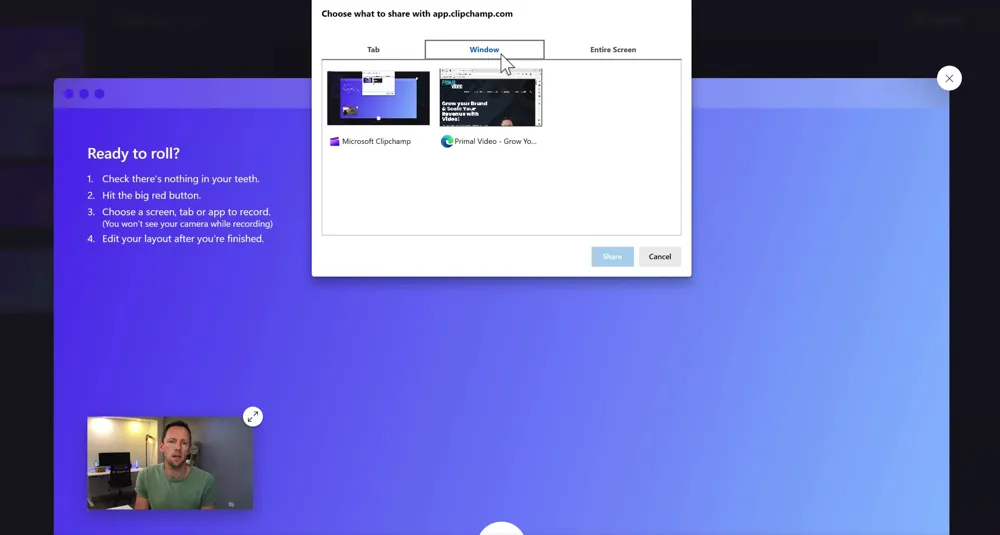
You’ll be prompted to select what you want to screen record: tab, window or entire screen.
Then press Share and the screen recording will begin.
From here you’ll have one window that’s a preview of your screen recording that displays your webcam.
And you’ll have another window that you’re screen recording - so if you’re clicking on links or scrolling the page, make sure you’re doing it in this window.

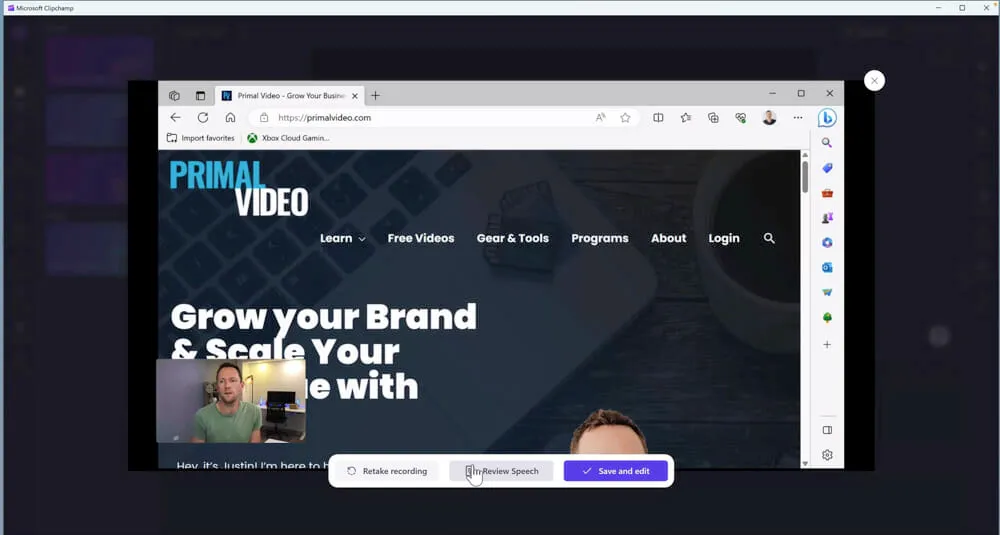
When you’re ready to finish the recording, go back to the preview window and hit the Stop button.
Then you’ll have a few options: Retake Recording, Review Speech or Save And Exit.
Let’s take a look at the Review Speech option before saving out the video recording.
How To Review Speech With Speaker Coach In Clipchamp
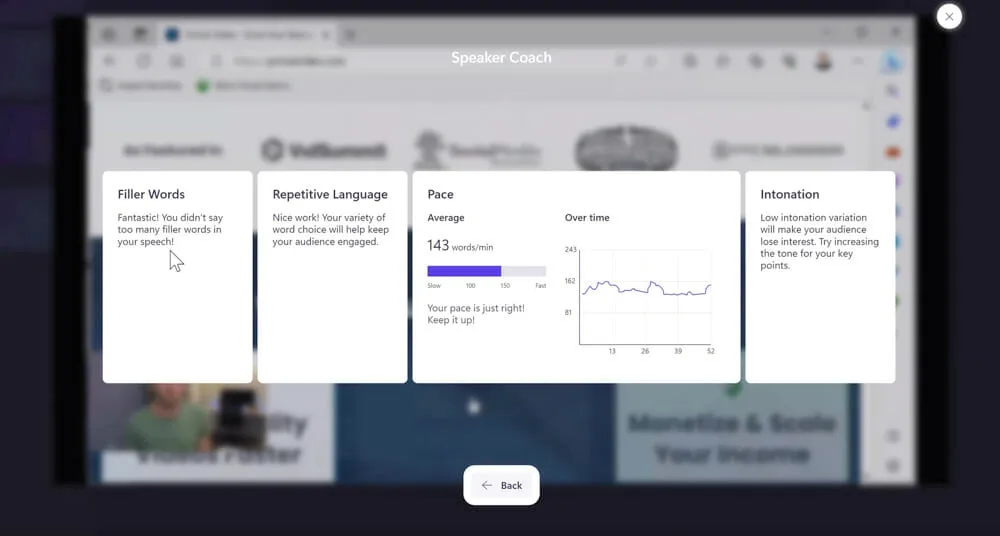
If you had Speaker Coach selected in the Recording Option mentioned above, you’ll now be able to access the analysis of your speech.
It will provide feedback on your filler words, repetitive language, pace and intonation.
So, this isn’t really related to computer screen recording but it’s cool that they have this feature included.
Then when you’re ready to move on, press the Save And Exit button.
Clipchamp Video Editing Tool
After saving your screen recording, you’ll be taken to the Clipchamp video editing tools.
On the video editing timeline there will be two different video layers - one for the webcam & microphone and one for the screen recording.
You can trim the clips and make adjustments just like you can in regular video editing software.
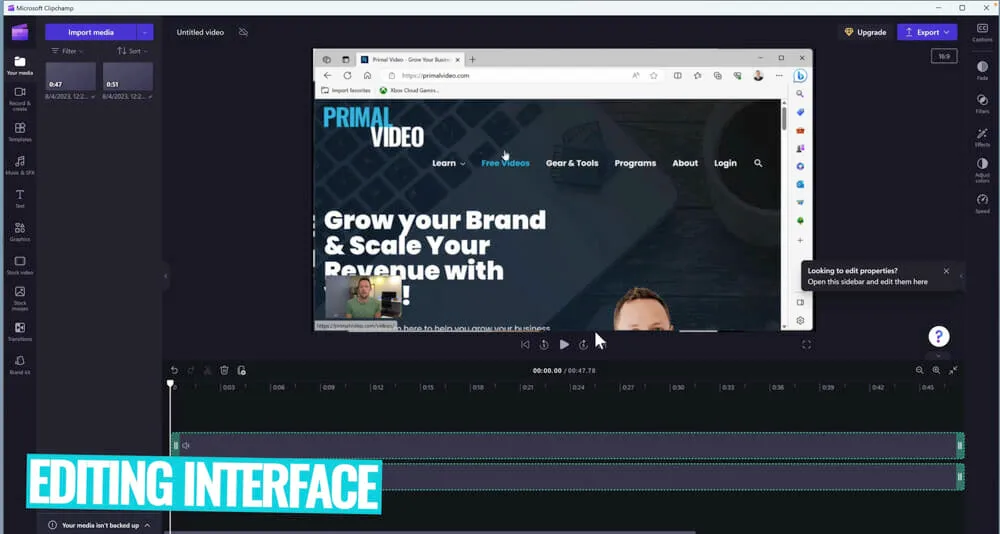
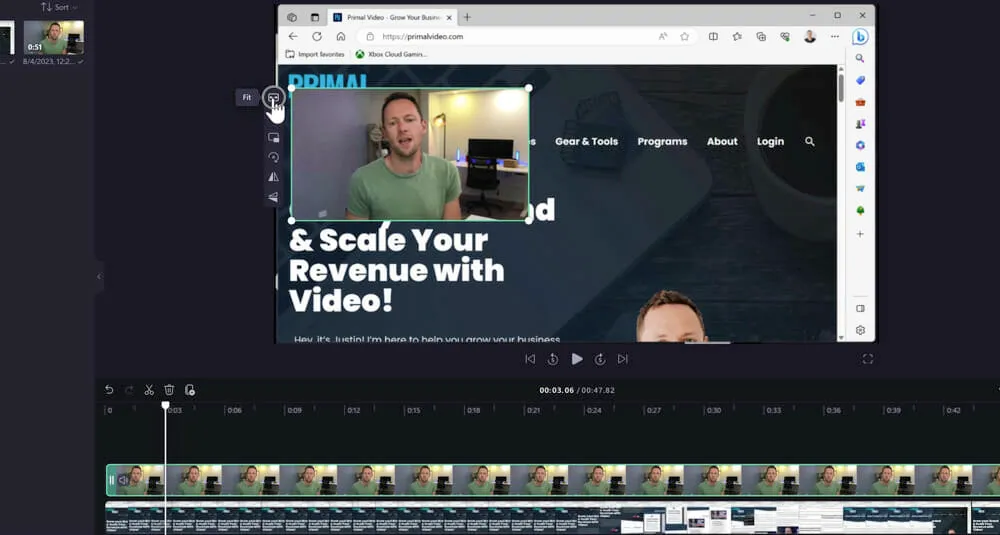
You can also adjust the elements individually, allowing you to do things like scale and reposition the webcam.
Clipchamp allows you to get a bit more advanced as well. You could start your recording with the webcam full screen and then after 10 seconds for example, it could switch to the screen recording full screen with your webcam in the bottom corner.
To do this, you’ll need to create a cut in the video clip where you want the change to occur by right clicking on the clip in the timeline and selecting Split. Then with the first clip selected, click on the webcam element, right click on it and select Fit to make it go full screen.
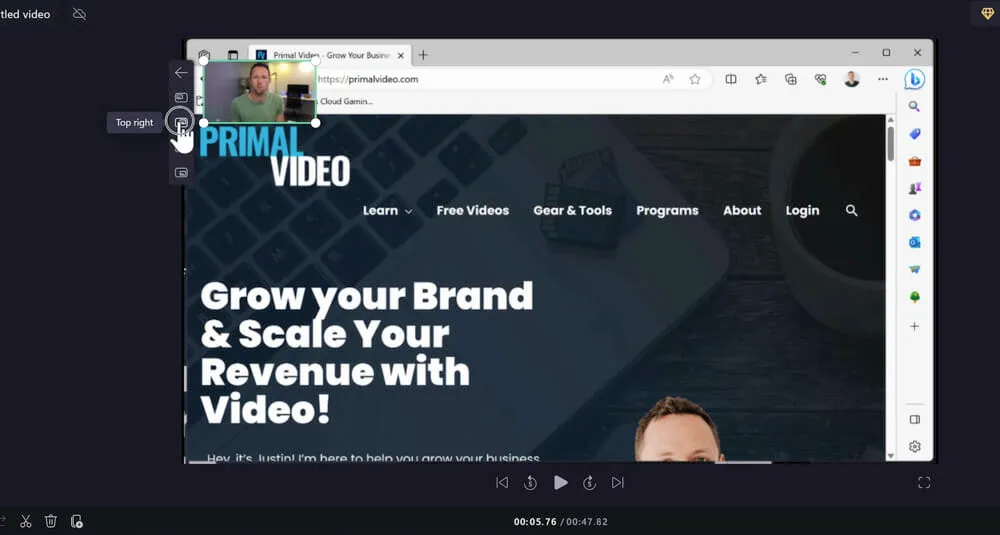
If you select the webcam element in the Preview window, you can also access some other tools such as:
- Picture In Picture: Here you’ll find some presets
- Crop: This is great for adjusting the webcam shot
- Flip: This will flip your webcam
You can also add music, text, graphics, closed captions, filters and even easily change video formats…
How To Change Video Formats In Clipchamp
Another awesome feature in Clipchamp’s video editing tool is that you can easily switch between different video formats or aspect ratios.
To do this, select the 16:9 icon in the top right corner. Then you’ll see a range of options including Portrait (good for TikTok videos or Instagram Reels) and Square (good for Instagram posts).

It will then automatically scale your clips so that everything fits properly in the updated format. But if that automatic scaling isn’t to your liking, you can easily resize and reposition the different elements.
Once you’re happy with the edits, it’s time to export.
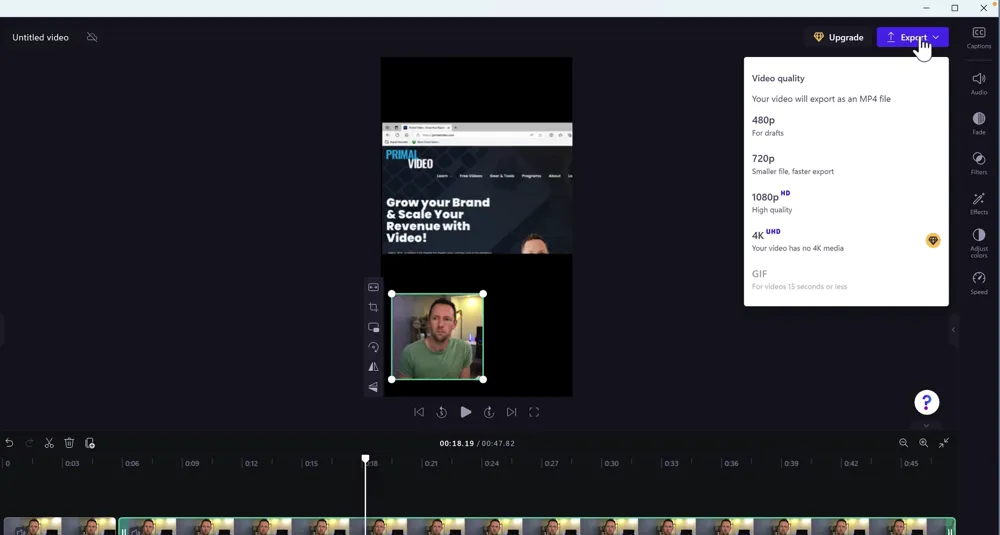
How To Export Screen Recording In Clipchamp
In the top right corner click Export.
While on the free version, you can choose from 480p, 720p or 1080p.
If you want to export in 4K you’ll need to be on a paid plan.
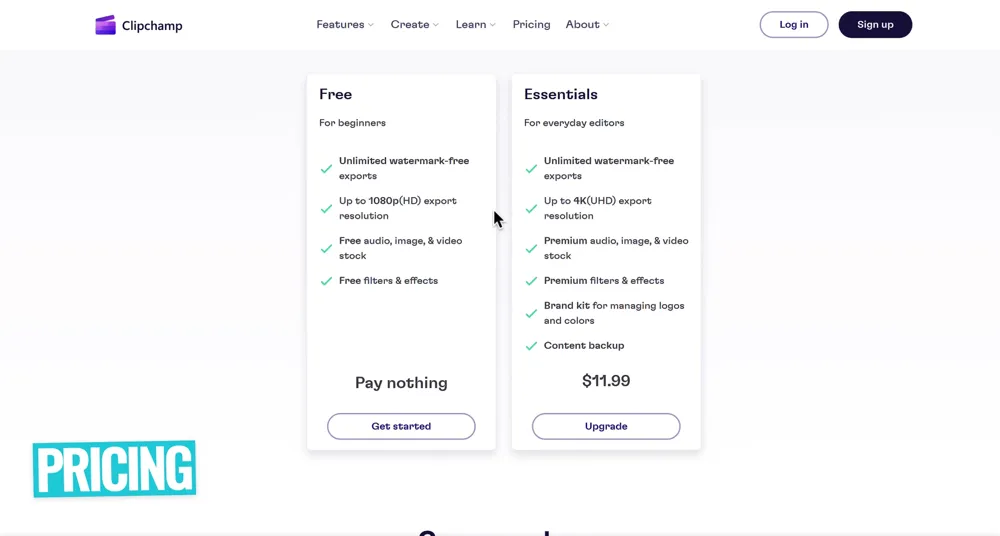
Clipchamp Pricing
There are two pricing options for Clipchamp:
- Free: Unlimited watermark free exports up to 1080p
- Essentials - $11.99/month: Unlimited watermark free exports up to 4K, premium stock assets & effects, content backup and more
So if you’re happy with recordings at 1080p and under 30 mins, this is a great free screen recorder. But if you’d like to capture higher video quality, you’ll need to jump on a paid plan.
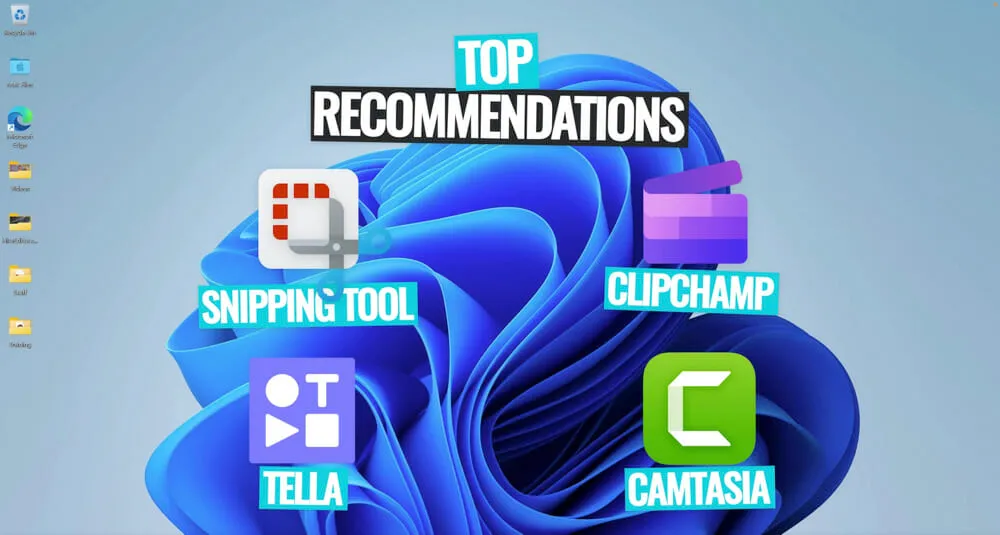
Best Screen Recording Tools For Other Use Cases
So the Snipping Tool and Clipchamp are our top two recommended tools that should suit most people out there.
If you’re looking for a free screen recorder, both of these are great options.
But there are two more tools we wanted to mention for other specific use cases.
If you’re looking for a cloud-based workflow so that your files are uploaded directly to the cloud, Tella is an amazing option.
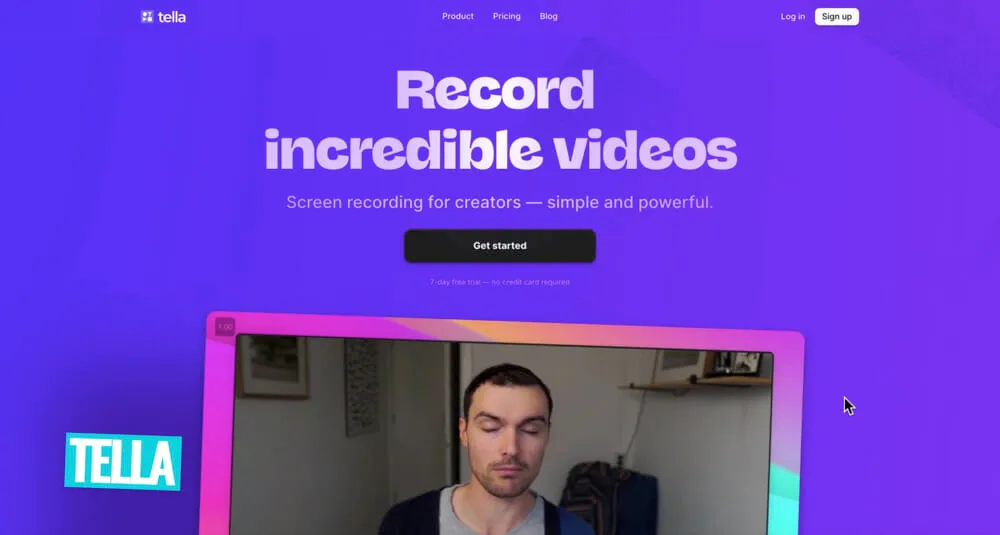
This is particularly useful if you want to easily share out your recordings or if you work with remote video editors.
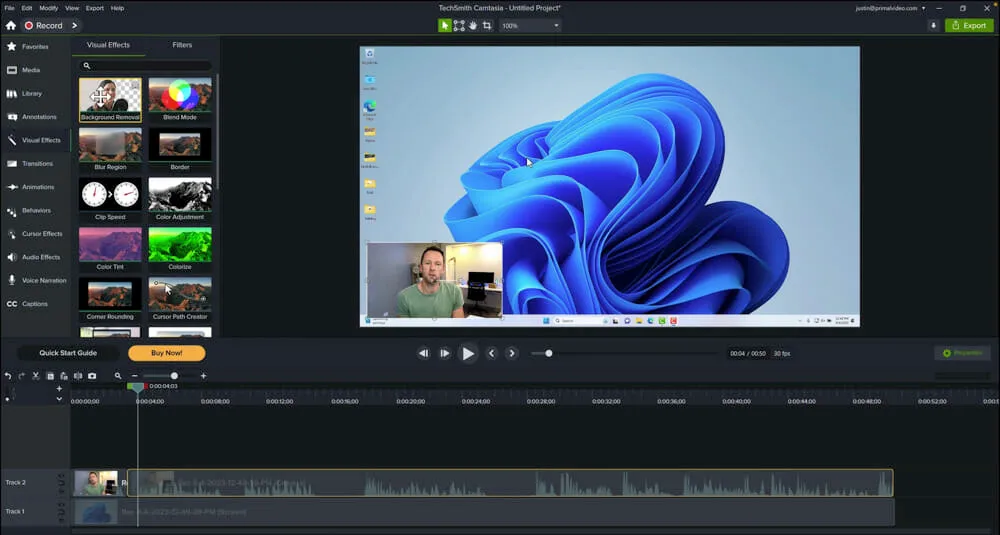
Or if you’re looking for something like Clipchamp but with more advanced functionality and more feature-rich editing capabilities, we’d recommend checking out Camtasia.
It’s a fair bit more expensive but it could be a good option if you want access to decent recording through to more professional video editing all in the one place.
Best Screen Recording Software in 2023?
So, which is the best screen recording software right now? The best screen recorder for PC will come down to your specific use case.
We’d recommend testing out the options mentioned in this guide to find out which one best suits your workflow.
Whether you’re after a free screen recorder or something more advanced, we covered all the top options available right now.
Now that you know how to screen record on Windows, check out the Primal Video Method. It’s a step-by-step process that will teach you how to edit your videos in the most efficient and effective way.
FAQ
How do I record my screen Windows?
There are lots of options when it comes to Windows screen recording. Our top two picks are the built-in Snipping Tool for quick and basic recordings or Clipchamp for more advanced tools and customization options.
How do I record my screen and audio on Windows?
If you’d like to record audio with your screen recordings, we’d recommend checking out Clipchamp. There’s a free version that comes built-in on your Windows computer that can record your screen and capture audio recording.