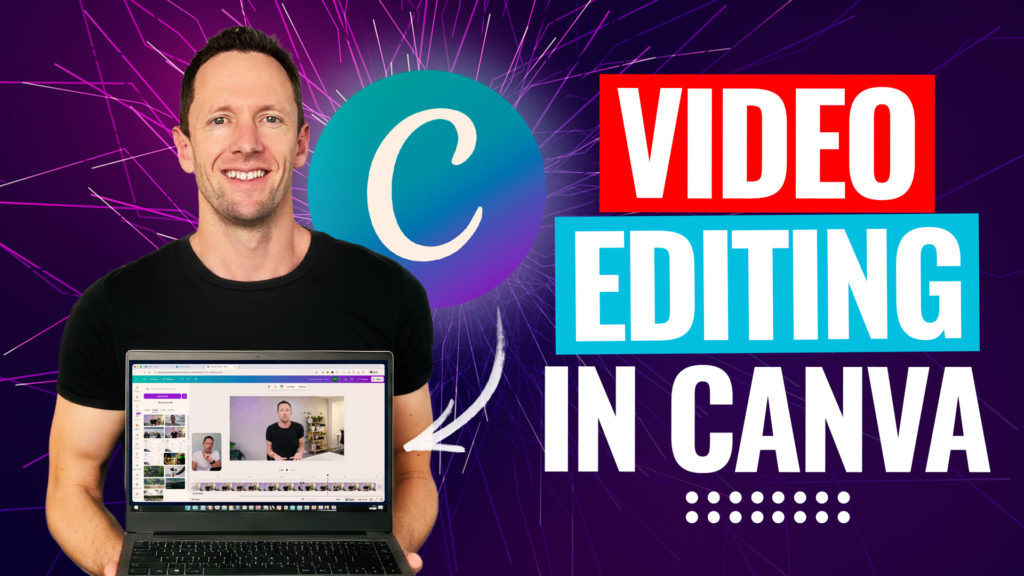
Adobe Premiere is now available as a free mobile video editing app on iPhone, bringing powerful editing tools straight to your pocket with no watermark and solid AI features built in. Anyone looking to edit videos on the go can jump straight in with this new, standalone app. With beginner-friendly steps and a results-driven approach, Adobe Premiere on iPhone is a no brainer for creators or business owners aiming for fast, high-quality editing on mobile.
Important: When available, we use affiliate links and may earn a commission!
Below is an AI-assisted summary of the key points and ideas covered in the video. For more detail, make sure to check out the full time stamped video above!
Getting Started with Adobe Premiere on iPhone
- Launch the app and you’ll see quick-start options like importing media from your photo library, files, or starting a blank project.
- Bonus tools are front and center: extract audio from video, add captions to an existing clip, and experiment with Adobe’s AI for image generation, image-to-video, and expanding images (these last ones need a paid upgrade).
- Standard video editing is completely free—no watermark, no hidden catches. AI-powered extras like advanced image features come at $12.99/month or $99.99/year AUD, but most creators won’t even need them to get awesome results.
Try Adobe Premiere Mobile App (iOS)
Setting Up Your First Project
- Tap the plus button to start and import your main video clips. Select as many as needed and the project automatically matches your video’s format (widescreen, portrait, etc.).
- Want to switch orientation? There’s a handy button up top to change it on the fly.
- The interface is a familiar sight for fans of VN Video Editor or CapCut: preview up top, timeline below, and a customizable divider to adjust your workspace.
Cutting, Trimming, and Arranging Clips
- Select clips and use the handles to trim start and end points quickly.
- Audio waveforms show where the action is, making it dead simple to spot and chop out dead air or mistakes.
- Use the split function to slice your timeline, then shuffle or delete clips as needed for a clean, pro edit.
Layering B-Roll, Photos, and Overlays
- Bring in B-roll or photos by hitting the plus sign—import from your library, Adobe stock, or even generate with AI.
- Layer clips by dragging them above your main timeline. Adjust length and scale with simple pinch or handle moves.
- Muting overlay audio is easy: just select, go to volume, and hit mute.
Adding Text, Titles, and Captions
- Drop in text or titles using the plus button, then customize fonts, colors, and layouts with a few taps.
- Want captions? Use the auto AI captions—totally free—but always add these at the end for spot-on timing and less mucking about.
Transitions, Zooms, and Effects
- Tap between clips for transitions like crossfade or bar swipe. The list is short for now, but all the essentials are included.
- For slicker cuts, use a punch-in (zoom) effect on one of your clips instead of overusing transitions—keeps things sharp, not dodgy.
- Layer up effects like background removal (AI-powered and free), speed up or slow down clips, or use basic animations for intros and outros.
Audio Tools that Make a Difference
- Import music from Artlist, Epidemic Sound, or use built-in soundtracks. Add sound effects or record voice-overs directly in the app.
- Music volume automatically adjusts when spoken audio is detected, saving you heaps of fiddly work.
- Fine-tune volume on each clip, B-roll, and music with the slider, and use fades for smooth ins and outs.
- The AI-powered “enhance speech” tool cleans up noisy audio—something you usually pay extra for in other apps.
Try Artlist Try Epidemic Sound
Colour Grading: Looks & Manual Tweaks
- Apply preset ‘looks’ (like Instagram filters) and fine-tune the intensity—or dial in manual adjustments for exposure, temperature, contrast, and vibrance.
- Batch apply your tweaks to all clips with one tap. A few simple slider moves can take your video from flat to vibrant in seconds.
Exporting and Cross-Device Workflow
- When you’re done, export your video in 1080p, 30fps, and high quality by default—matching your source file for best results.
- Need to finish up on desktop? Export your project to Adobe Premiere Pro via the cloud for seamless transition between mobile and computer.
Pros and Cons of Adobe Premiere on iPhone
| Pros | Cons |
|---|---|
| 100% free for all editing basics | Limited transition/effect selection (for now) |
| No watermark, even on exports | Advanced AI features behind paywall |
| AI tools for background removal & speech clean | Some effects/features still in version 1 bugs |
| Auto music volume ducking | Speed ramping options limited |
| Strong cross-device workflow (mobile-desktop) | Fewer preset transitions than CapCut/VN Video Editor |
Pricing (as of October 2025)
- Core video editing: FREE (no watermark)
- Premium AI (generative features): $12.99/month or $99.99/year (AUD)
Key Action Steps for Efficient Editing
- Import main footage first to set project format.
- Trim and split clips, remove mistakes, and arrange the timeline.
- Add B-roll, overlays, and photos—layer above primary footage.
- Insert text, titles, and only add AI captions once at the end.
- Use transitions sparingly—punch-in zooms are a pro move.
- Add/adjust music, sound effects, and use the AI Enhance Speech tool for noisy clips.
- Colour grade with presets or manual adjustments, and batch-apply settings.
- Export at your preferred resolution, or send your project to Premiere Desktop for further tweaks.
Try Adobe Premiere Mobile App (iOS)
Take Your Mobile Editing to the Next Level
Adobe Premiere Mobile App is a watermark-free editing tool that actually makes sense for business use, content creation, and lifestyle business workflows. Editing is fast, intuitive, and packed with value—especially with frame-accurate cuts, easy audio tweaks, and AI tools that save heaps of time. For anyone wanting pro results without the fuss, this is seriously low-hanging fruit.
Related Tools and Resources
- Adobe Premiere Mobile App (iOS)
- Adobe Premiere Pro (Desktop)
- Artlist (music licensing)
- Epidemic Sound (music licensing)
- Get our Free AI Guide or Step-by-Step PDF to Cut Your Video Editing Time in Half, no matter what software you’re using!