Featured Masterclasses
View all training →Blackmagic Camera App: Film like a PRO with your phone
Gear & Setup
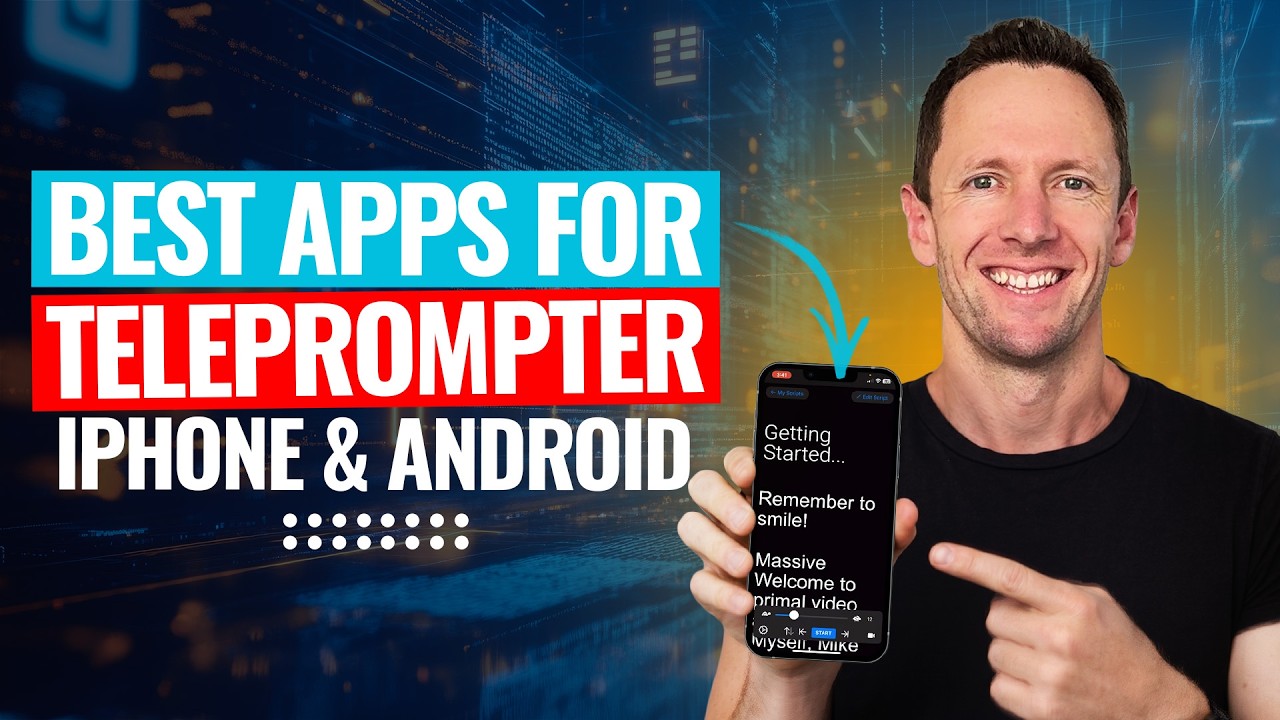
Best Teleprompter Apps For iPhone & Android in 2026
The best teleprompter apps for iPhone and Android in 2026: quick-record options, hardware-rig picks, floating overlays, and AI-powered pro tools.
May 28, 2026•6 min read
YouTubeGear & Setup
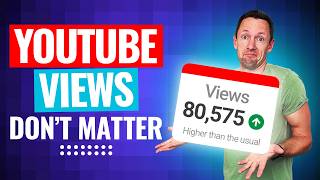
I Finally Proved Views Don't Matter. Here's the Data.
Views on YouTube don’t matter as much as the actions viewers take off-platform. YouTube Studio and YouTube analytics often push creators toward algorithm wins i
Feb 26, 2026•6 min read
Gear & Setup
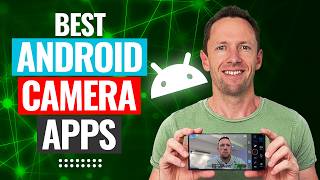
Best Camera App for Android 2026 Top 2 FREE Picks
Looking for the best camera app for Android in 2026? Finding the right video camera app among hundreds of Play Store options can be a pain, especially when pro-
Jan 15, 2026•4 min read
Gear & Setup
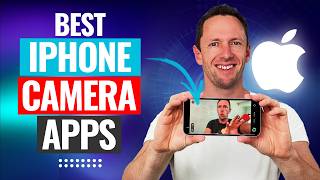
Best Camera App for iPhone 2026 Top 3 FREE Picks
Looking for the best camera app for iPhone 2026? Choosing the right camera app can make shooting pro-quality video on your device fast and frustration-free. Her
Jan 12, 2026•5 min read
Gear & Setup
Creating Content Just Got EASIER (NEW iPhone 17 Camera Feature)
The new iPhone 17 camera feature takes mobile content creation to a whole new level. Anyone filming videos on a phone—especially solo creators—can now work smar
Nov 4, 2025•3 min read
Gear & Setup
The BEST Camera App for iPhone & Android? (Blackmagic Camera App Tutorial)
Looking for the best camera app for iPhone and Android to get pro video results? The Blackmagic Camera App (iOS & Android) is a total game changer, offering
Oct 21, 2025•5 min read
EditingGear & Setup
Microsoft Clipchamp Tutorial for Beginners (The COMPLETE Guide)
If editing videos in complicated software leaves you scratching your head, Clipchamp is a no-brainer video editor for beginners. This Clipchamp tutorial for beg
Sep 9, 2025•4 min read
Gear & Setup
The Best Action Camera Of 2025!
Finding the best action camera in 2025 doesn't have to be rocket science. If you're gearing up for an adrenaline-packed year, having the right action camera is
Jun 5, 2025•3 min read
Gear & Setup
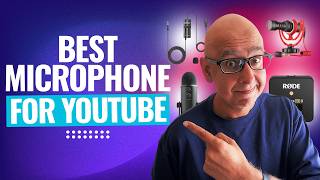
Best Microphone for YouTube Videos (For ALL Budgets!)
Looking to boost your YouTube video quality with some top-notch audio? Picking the right microphone can make a world of difference. With options for every budge
Apr 24, 2025•4 min read
Gear & Setup
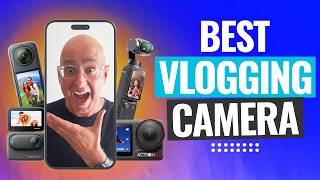
Best Vlogging Camera For Beginners in 2025 (5 Easy To Use Options!)
Best vlogging camera for beginners in 2025! From cheap vlogging cameras up to more advanced video camera options, here’s our top picks so you can find the best camera for you.
Feb 6, 2025•6 min read
Gear & Setup
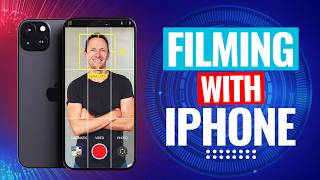
Filming With iPhone Like A Pro (Complete iPhone Video Guide!)
Complete guide to Filming With iPhone! Learn how to make videos on iPhone using the best iPhone video settings & our top recommended iPhone camera app for high quality video.
Jan 21, 2025•3 min read
Gear & SetupYouTube
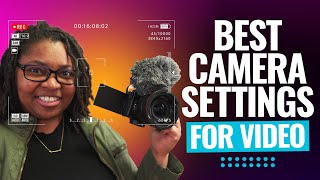
Best Camera Settings for VIDEO (Dynamic & Sharp Videos!)
The BEST Camera Settings for VIDEO! Here are the key DSLR settings for high quality video you need to know, whether you’re filming YouTube videos or other video projects.
Dec 5, 2024•3 min read
YouTubeGear & Setup
Awesome YouTube Studio Background Ideas (Quick & Easy!)
Top YouTube background ideas so you can get an amazing YouTube studio background, quickly & easily! Learn how to level up your YouTube video background in no time.
Nov 21, 2024•3 min read
EditingGear & Setup
Final Cut Camera App For iPhone & iPad (Complete Tutorial!)
The Final Cut Camera App for iPhone & iPad is here! Find out how to use this iPhone camera app & if it’s the best camera app for iPhone for YOU.
Sep 24, 2024•3 min read
Gear & Setup
Best Teleprompter I've Ever Used! (Elgato Prompter Review)
The Elgato Prompter is hands down the BEST teleprompter we’ve ever used. Find out if it’s right for you in our Elgato teleprompter review.
Sep 3, 2024•3 min read
Gear & Setup
How To Start A Podcast For Beginners In 2024 (The Ultimate Guide!)
How to start a podcast for beginners in 2024! Our ultimate guide on how to make a podcast including everything from podcasting equipment to awesome podcasting tips.
May 16, 2024•4 min read
Gear & Setup
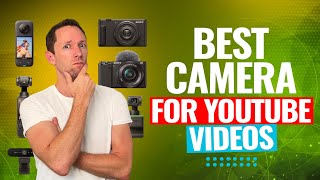
Best Camera For YouTube Videos In 2024 (Beginner’s Guide)
Best camera for YouTube videos in 2024? Here’s what to consider when buying the best camera for beginners & our top YouTube camera picks for all budgets - cheap to advanced!
Apr 30, 2024•4 min read
Gear & Setup
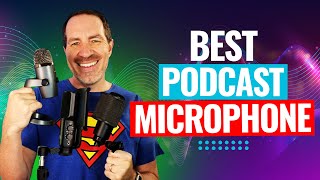
Best Podcast Microphone For Beginners in 2024!
The best podcast microphone for beginners in 2024! We’ll share the best microphone for podcasting to suit your podcasting setup so you can start a podcast in no time.
Mar 14, 2024•3 min read