Today we’re going to run through a complete YouTube Stories tutorial!
We’ll share everything you need to know including how to enable YouTube Stories to maximizing views & results with your Stories on YouTube.
Important: When available, we use affiliate links and may earn a commission!
YouTube’s Stories feature is a super powerful tool. Not only does it allow you to build a closer relationship with your YouTube subscribers, it also allows you to reach people who aren’t subscribed to your channel yet!
If you’re wondering how to get YouTube Stories on your channel, it’s available now for many creators – but you need to have hit the minimum requirements!
In this complete YouTube Stories tutorial, we take a look at exactly how to use YouTube Stories, the requirements to enable it on your channel and everything you need to know to help you get the MOST out of it!
What Are YouTube Stories?
The YouTube Story feature is a really powerful tool that allows you to post photos or short videos to your YouTube channel.
Yes, it’s a complete ripoff of Instagram Stories! Even the interface is almost identical.

But it’s also a great way to reach more of your subscribers than a typical video might.
The featureset has changed quite a bit. Some things were added, some were removed and some were re-added again!
But now that YouTube Stories has reached a level of maturity, we thought it was time for an updated tutorial to reflect the newer interface and features.

YouTube Stories are 15 second clips that last for 7 days. You can remove them earlier if you don’t want them hanging around for an entire week.
They are mobile only videos, meaning this feature is only available on a mobile device. You can’t post or view Stories on desktop.
You can shoot Stories directly in the app or you can upload pre-recorded videos to post as Stories too.
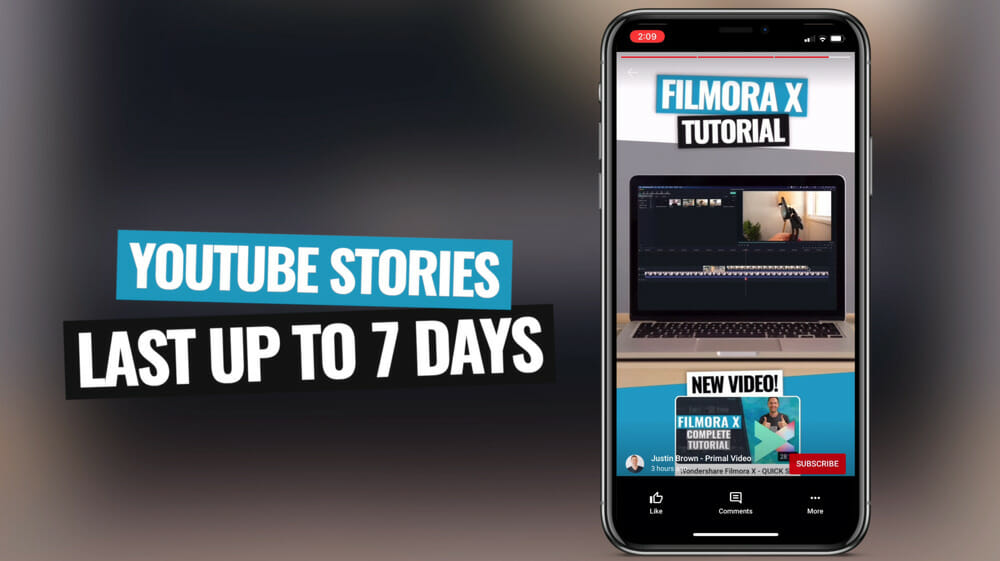
In YouTube Stories you can add stickers, emojis, text, tag other channels and you can even link directly to YouTube videos.
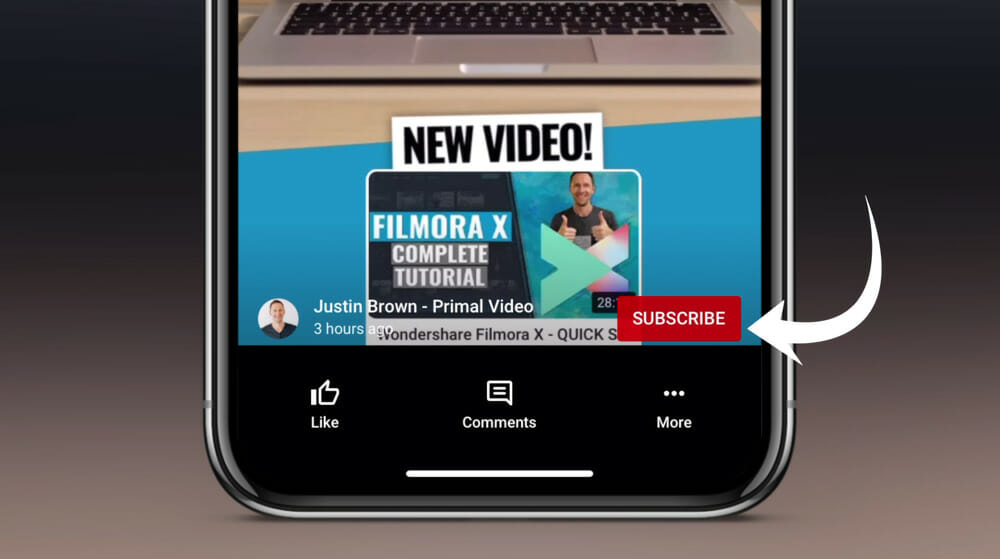
PRO TIP: For anyone watching your Stories that aren’t subscribed to your channel, a Subscribe button will appear at the bottom. That’s what makes this a great way to gain more subscribers!
Viewers can leave comments on your Stories which are visible to anyone watching. You can’t reply to these directly with text but you can reply with a Story post or you can react to the comment.
How To Enable YouTube Stories
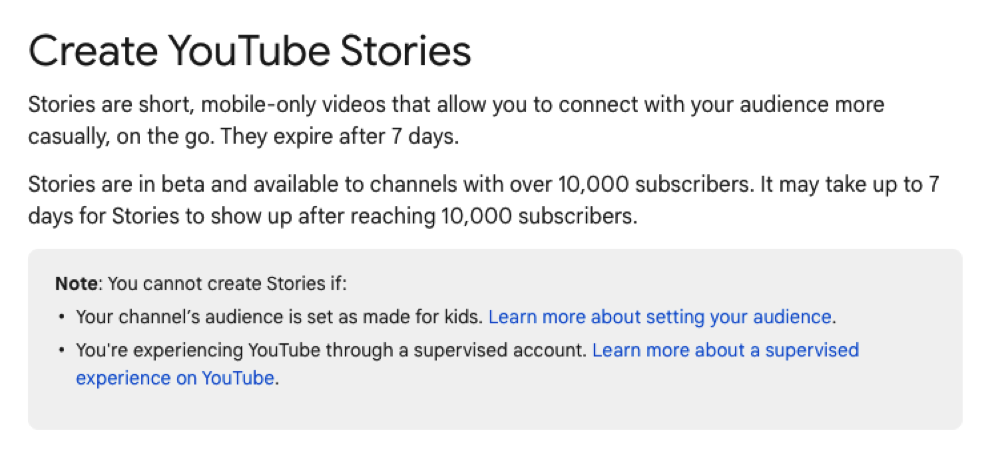
The official page says you need to have 10,000 subscribers to be able to unlock the YouTube Stories feature.
But apparently there are a lot of channels out there with less than that which have access. So it’s definitely worth checking out whether you have access on your channel.
Once you do hit that 10,000 subscribers, they also say you may have to wait up to 7 days for it to be enabled on your channel.
Where To Watch YouTube Stories
YouTube Stories are featured in a lot of places across the YouTube mobile app.
Here’s where you might find them:
- On the front page of the app after scrolling down a little
- On the Subscriptions feed when you scroll down a bit
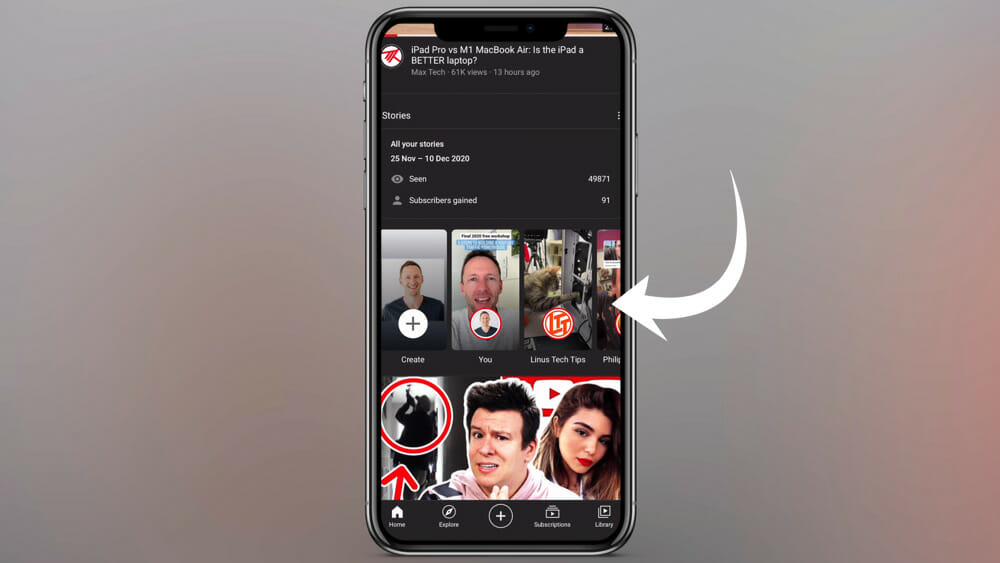
If you go to a specific YouTube channel, you can also see if a channel has a Story uploaded by clicking the profile picture on their channel page.
PRO TIP: Viewers might see your Stories on some watch pages as well.
How To Watch YouTube Stories
Let’s jump on over to the YouTube app. Scroll down and the Stories feature will appear.
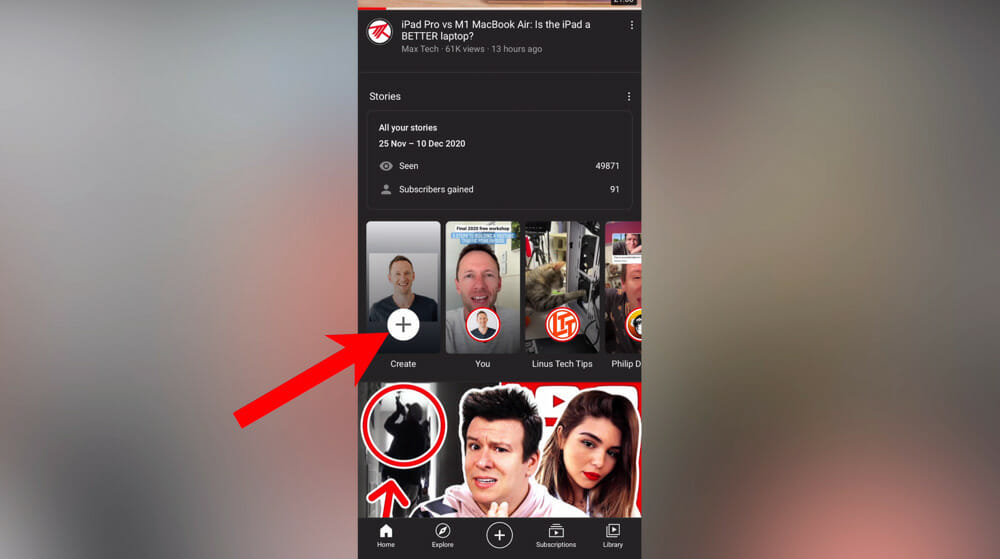
You can see the first button is for you to create a YouTube Story. To the right of that is any YouTube Stories you’ve uploaded.
Then as you scroll across you’ll see different Stories that you haven’t viewed yet. You’ll see Stories from channels you’re subscribed to and Stories from channels you’re not subscribed to.
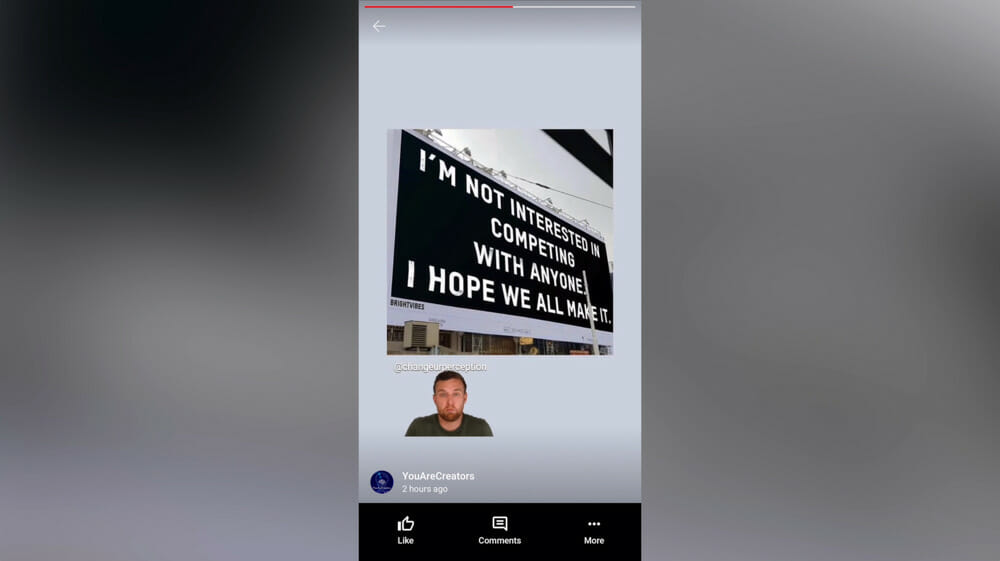
To view a Story simply tap on it. Then to skip to the next one you can either tap on the side or swipe up.
Like we mentioned earlier, this is an awesome way to get your content in front of people who aren’t subscribed to your channel.
How To Create YouTube Stories
There are two ways to create YouTube Stories:
- Tap the Create button in the YouTube Stories section
- Tap the Plus button in the bottom menu and select Add to your Story
Then the camera will open and the YouTube Stories interface will appear.
YouTube Stories Interface
Here’s a quick rundown of the Stories interface:
- Filters: In the top left corner is where you can access different filters to change up the look & feel of your shot
- Reverse Camera: In the bottom right corner you can switch between front facing camera and the back camera
- Turn On/Off Camera Flash: This is the button on the right of the Record button
- Record: The big button in the middle
- Effects: The button on the left of the Record button is where you can access all of the effects
- Upload: In the bottom left corner is where you can upload your own photos and videos
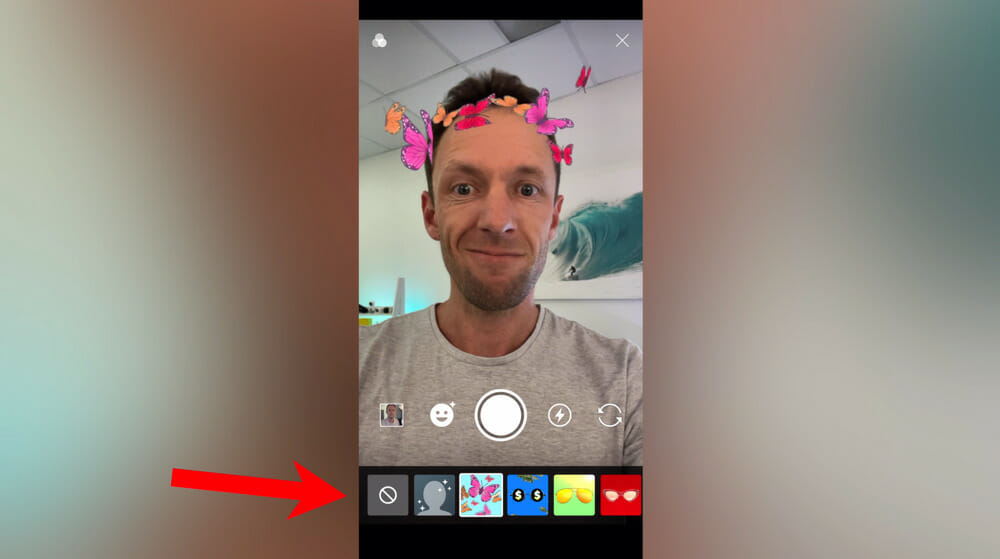
PRO TIP: If you upload a video longer than 15 seconds you have the ability to trim the clip down.
Now that you know where everything is, let’s press record!
How To Record YouTube Stories
Press and hold the Record button to create your YouTube Story.
Remember you only have 15 seconds. You’ll see the red circle slowly filling up until you reach 15 seconds and then you won’t be able to record anymore.
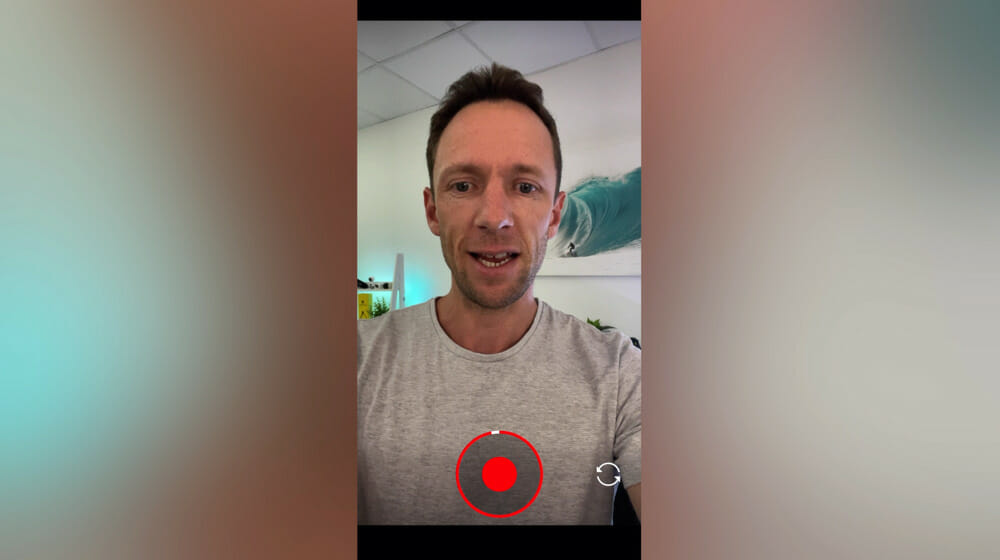
Once you’ve recorded or uploaded your video, you’ll see some more options appear:
- Filters: These are the same filters you had access to while recording your video
- Text: Add some awesome text – you can change the size, color, style and position.
- Draw: There’s a range of different pens and colors you can use to draw on screen.
- Stickers: The most powerful options here are the clickable links for Video, Location and Mention
- Volume: You can mute the volume or enhance your speech which reduces the background noise
- Trim: If you decide to change the length of your video
- Save: This will download the video to your phone which is a great idea if you want to repurpose it
PRO TIP: The Video sticker is super powerful. It allows you to link off to any YouTube videos you’ve watched – it can be one that you’ve published or one published by another channel.
When you’re happy with your Story, tap Post and it will be published.

How To Respond On YouTube Stories
Go to the YouTube homepage and scroll down until you get to the Stories section. Tap on your Story and you can see:
- How many thumbs up it has
- How many views it has (only you can see this)
- How many comments it has
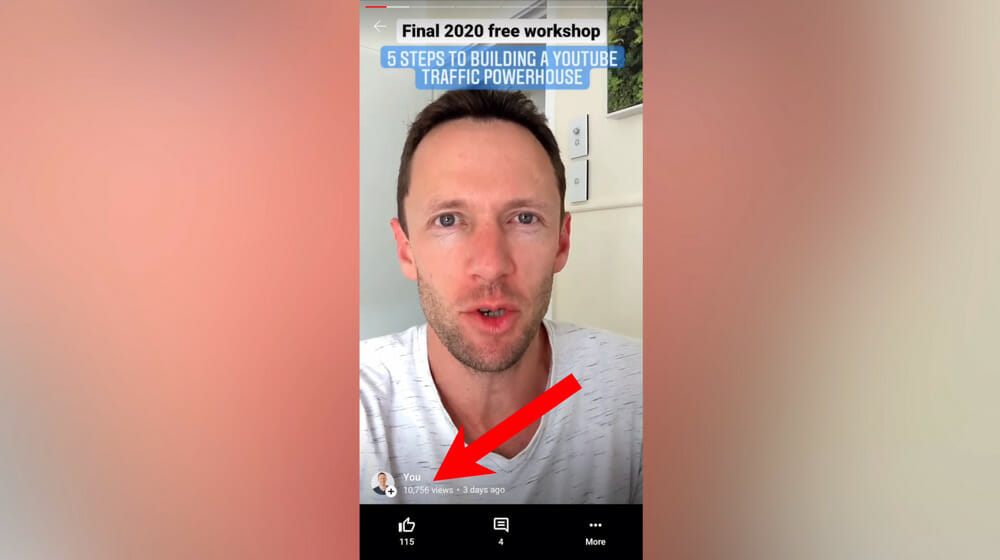
If you tap on the Comments icon, you’ll see a full list of all the comments. You can give each comment a:
- Thumbs up
- Thumbs down
- Heart
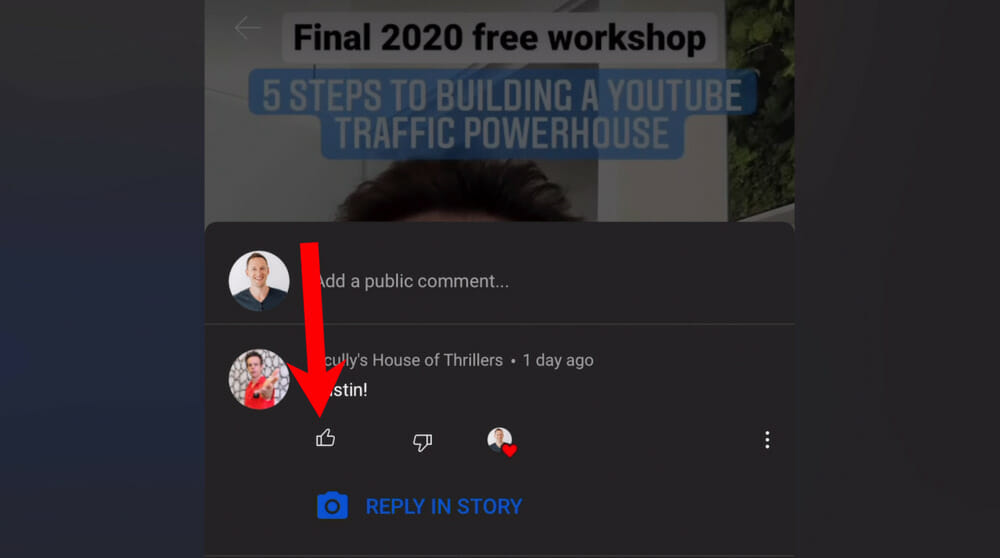
Plus you can also Reply In Story. Tapping this will open your camera, from there you can take a photo, upload a photo, take a video or upload a video response.
The person’s comment will appear inside your Story response. You can pick this up and move it around.
When you hit Post, the person will be notified that you responded to their comment.

You can also respond to comments in the YouTube studio app.
Hit the Menu icon in the top left corner and select Comments. If you scroll down you’ll see any Story comments.
You can respond using any of the reactions mentioned above but you can’t Reply In Story from here.
It’s not just the mobile YouTube apps where you can reply to comments, you can also respond to Story comments on desktop.

How To Remove YouTube Stories
To remove or delete a YouTube Story, open the Story you want to delete.
Press the More icon in the bottom right corner and select Delete. When prompted with the ‘Are you sure?’ window, press Remove.
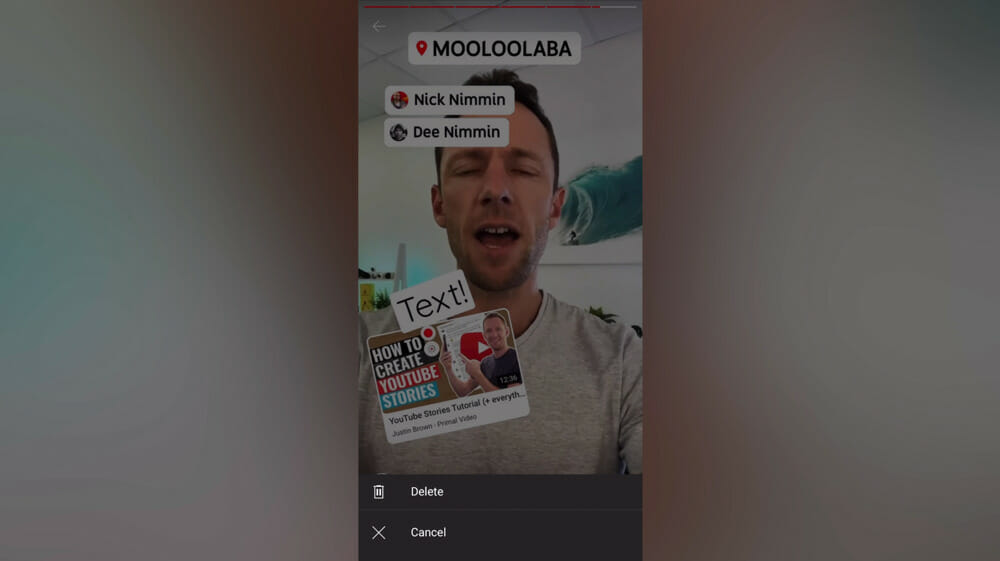
The Story will then be deleted.
If you don’t delete the Story, it will stay up for the full 7 day period.
Now you know everything you need to know about the YouTube Stories tab!
If you want to learn about how you can level up your YouTube Stories, check out our complete Smartphone Filming Guide.
Recommended Gear & Resources
Check out an up-to-date list of all the gear, software & tools we use and recommend right now at Primal Video on our resources page here!


