Mobile live streaming has come a long way over the years. Thanks to the latest apps and updates, it’s now easier than ever to live stream from a smartphone. But that doesn’t mean the process for how to live stream on smartphone devices is a walk in the park.
Many of us have learned the hard way that there are still plenty of ways to ruin a live stream. Poor connectivity, audio issues, distractions in the background, harsh lighting… These are just a few examples of what can go wrong.
Luckily, the right preparation can do wonders for upping the quality of your live content. Plus, preparing beforehand can minimize the risk of running into common problems while you film.
For a step-by-step live streaming checklist, check out this complete guide on how to live stream on mobile. We’ll be covering some live stream tips and tricks to improve your live content and create awesome videos.
So if you’re ready to level up your mobile live streams, let’s get started!
Live Stream Checklist: Go Live on Mobile
One of the best live stream tips to follow through on is to prepare. Even if you’re normally the type of person to jump right into things without a second thought, that’s not the right mentality to have when you live stream on Android or iPhone devices.
Instead, you should be preparing for each shoot by going through a live stream checklist before you hit that broadcast button. That way, you’ll be able to avoid the common pitfalls that many creators face, and do everything in your power to capture quality content that your viewers will love.
Whether you’re going live on Instagram, Facebook Live, YouTube Live, Twitch, or another platform, following these 9 simple steps BEFORE you go live can help you get awesome results every time:
- Step #1: Plan Your Content
- Step #2: Pick a Location
- Step #3: Test Internet
- Step #4: Setup Your Phone
- Step #5: Clean Your Lens
- Step #6: Setup Your Live stream
- Step #7: Test Broadcast
- Step #8: Tell People
- Step #9: Go Live!
Step #1: Plan Your Content
Planning out the content beforehand might seem like an obvious first step, but you’d be surprised by how many people don’t actually do it.
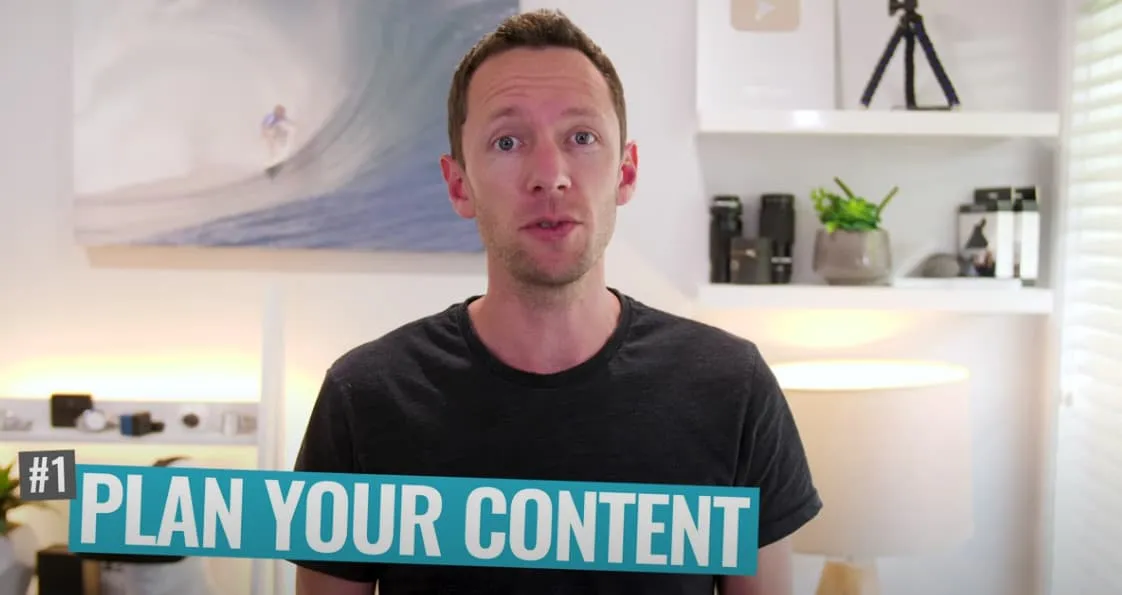
Without putting together a plan, it’s more likely that a live streamer will ramble on with no end in sight, or on the flipside, key talking points could be left out altogether.
How to Plan Your Content
There’s no need to go overboard with Step #1. If you do prefer to write out a word-for-word script, go for it. In most cases, though, writing out a simple structure for how the content should flow will suffice.
Here’s the general format your live stream can follow to improve the way viewers consume the content:
- Hook: This should include what the live stream is covering and what the viewers can expect to get out of it.
- Intro: This can be about you, your brand, your channel, and what you’re hoping to achieve from the live stream.
- Content: This is the bulk of the live stream, where you’ll cover everything you feel is relevant to the audience for the topic you’re streaming about.
- Recap: This can be a quick summary of everything you’ve covered so far.
- Call to Action: End the live stream by providing an “action” for your viewers to take next - e.g. “Subscribe for more tips on…”
Step #2: Pick a Location
“Location, location, location” usually applies to real estate ventures, but it’s just as relevant to live streaming!
The filming location you choose can have a massive effect on the value of your content. Whether you’re filming inside or outside, try to pick a location where you and the viewers can get the best experience while watching.
Considerations for Choosing Live stream Location
When selecting a location to live stream, consider what might be a potential distraction to your viewers. Start by focusing on things like lighting, atmosphere, and background noise.
Step #3: Test Internet
After selecting the ideal location, the next step before you live stream on iPhone or Android smartphones is to perform a quick internet test.
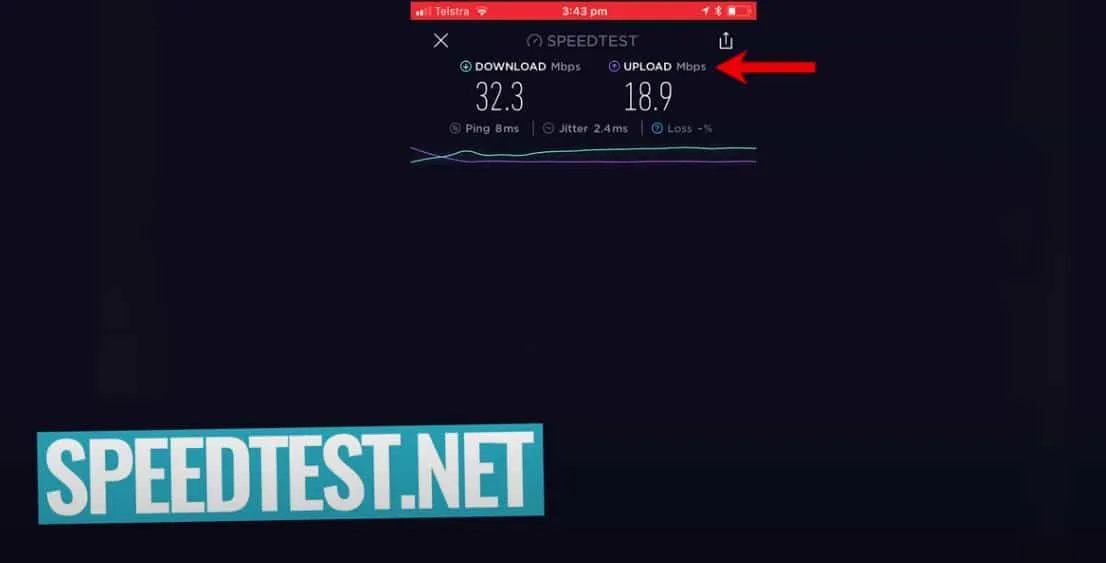
This content is being delivered to viewers in real-time, so the results are completely dependent on how good - and how fast - your internet is. Running a speed test will show you the internet quality in your current location.
To do this, just head to the website Speedtest.net or download the free Speed Test app.
Suggested Requirements for Internet Speed
Internet speed is measured in megabits per second, or Mbps. If you run a speed test and the results show an upload speed that’s less than 2 or 2.5 Mbps, it’s time to look at some other options.
Start by trying a different internet connection, like LTE or 4G. If your phone’s data connection isn’t up to the challenge, try connecting to a different WiFi network. If all else fails, you can move to a different location altogether that offers a better connection.
Pro Tip: Be Upfront With Your Viewers
There might be times when there’s nothing to be done about slow internet speeds, like if you’re streaming from a remote location. If that’s the case, just be upfront with your viewers and let them know that you might experience connection issues along the way.
As long as you let them know and set that expectation ahead of time, your viewers will understand if there are technical difficulties.
Step #4: Setup Your Phone
In Step 4 of the live streaming checklist, it’s time to set up your iPhone, Android, or whatever smartphone you’re using.
It’s recommended that you use a tripod to stabilize the phone and reduce shakiness. If you don’t have a tripod, prop the phone against a bookshelf (or whatever you have).
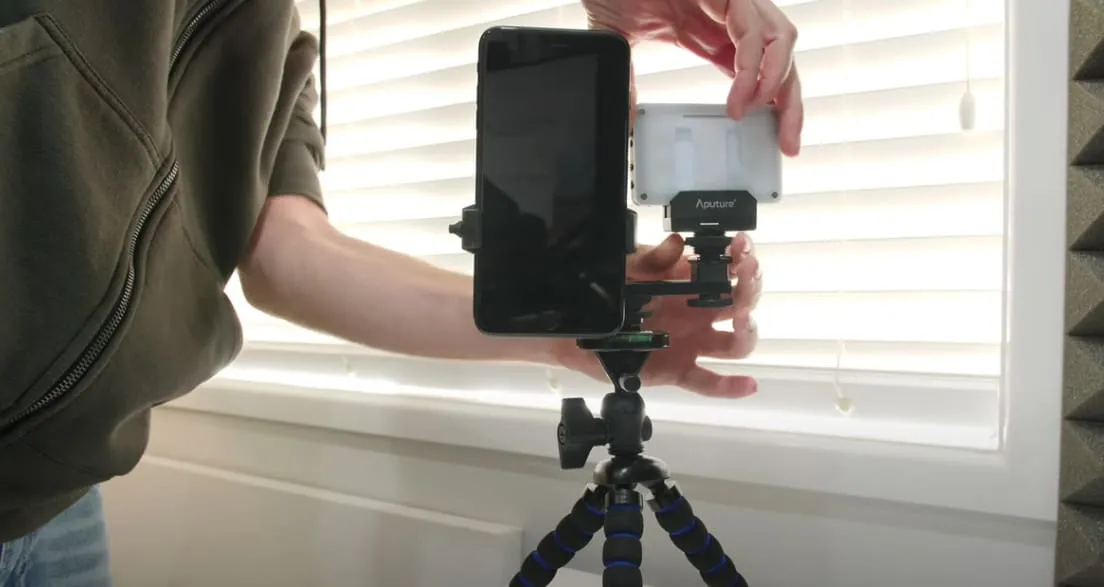
When setting up the phone, position it so that the camera is slightly below eye level.
Pro Tip: Use a Microphone for Improved Audio
If you’re just using your smartphone’s built-in microphone, you can move on to the next step. However, it’s recommended that you set your phone up to a separate microphone for better audio (and better content overall).
On that note, it’s really important to choose a location with minimal background noise, especially if you’re sticking with the phone’s built-in mic. Wind in particular can cause some major issues to live streams, so pay close attention to that if you’re filming outside.
For recommendations on microphones for live streaming on mobile, check out our guide to the best microphones for video.
Pro Tip: Add a Portable Light
It’s not entirely necessary to invest in lights for your live stream phone setup, but just as an additional microphone can boost content quality, so can lighting. This is especially true for smartphones; they’re notorious for performing poorly in low-light settings.
For lighting, start by using what you have, like a desk lamp or natural light coming in through a window. To take things up a notch, buy a portable light and position it near your phone so that the subject of the video is brightly lit for the audience.
To learn more about how to light your videos properly, check out our Video Lighting Tutorial for Beginners!
Step #5: Clean Your Lens
Step 5 in the live streaming checklist will only take a few seconds of your time, but it’s something that should be done before every live stream: clean your lens!
Streaming from a lens that’s marked with fingerprints, dirt, makeup, and facial oils can drive down your video quality, so make it a habit to wipe off the camera lens before you start recording.
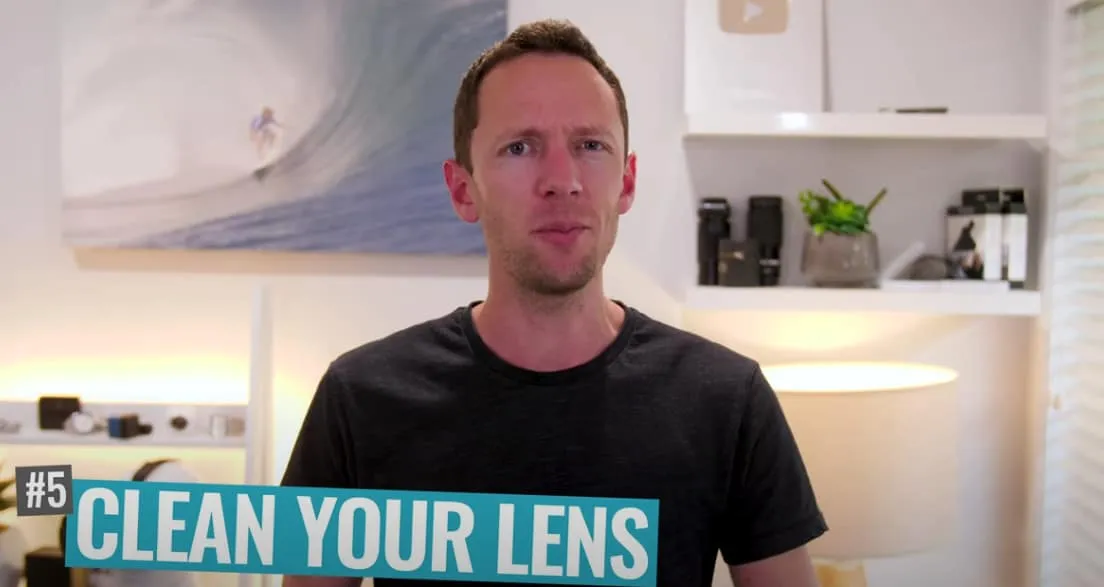
To avoid scratching the lens, it’s best to use a microfiber cloth or lens cloth that you’d use to clean a pair of glasses.
Step #6: Setup Your Live stream
The next step in the checklist is to set up the live stream. Even if you’re going live last-minute, you should still take some time to create a title and description so that the viewers at least know the topic of your stream.
For preplanned live streams, you have time to go further than a simple title and description. Set things up beforehand with an attached thumbnail image, links to covered content, etc.
Step #7: Test Broadcast
Once the live stream is set up, the next step is to make sure everything is ready to go with a test broadcast. Not every platform allows you to test things out ahead of time, but on major platforms like YouTube and Facebook, you can.
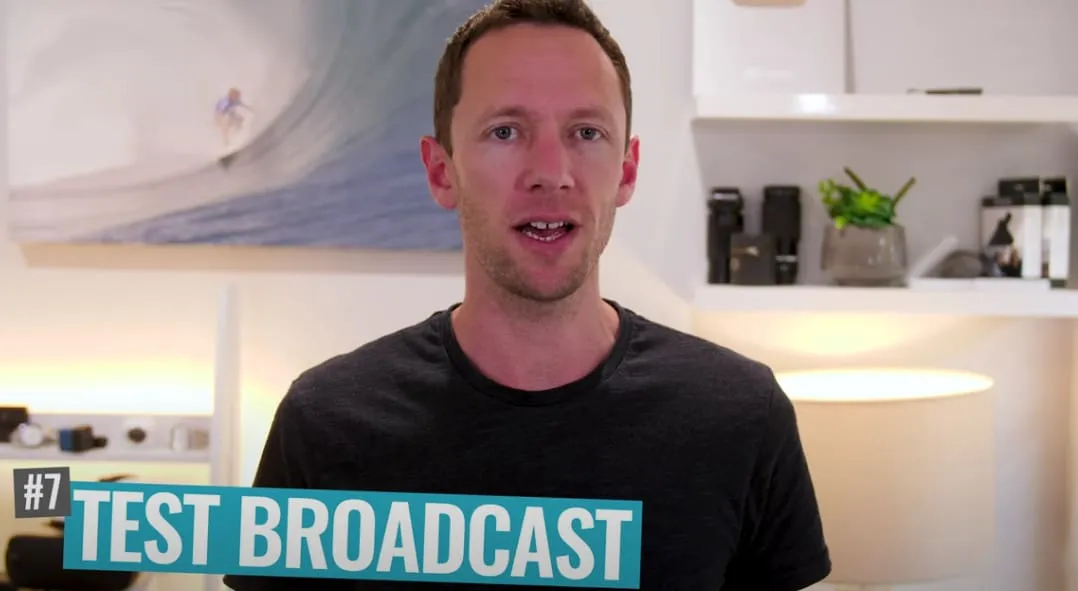
A test broadcast allows you to go live in a private viewing mode so that just you or a closed group of people can view the content. This is the perfect opportunity to check things like audio, lighting, and background noise before actually going live to the public.
Step #8: Tell People
At this point, you’ve put in a decent amount of effort to get your live stream ready. The next step is to make sure that people will actually be watching what you’re putting out into the world.
To do that, you have to tell people when and where the stream will be live. Jump onto social media channels and start getting the word out. The earlier you tell your audience, the better, and don’t be shy about giving reminders before going live.
Pro Tip: Use Live Leap to Get the Word Out
One of the best Facebook live stream tips we can give you is to start using a tool called Live Leap. Live Leap allows users to automatically broadcast and share info about a live stream, even while it’s actually live.
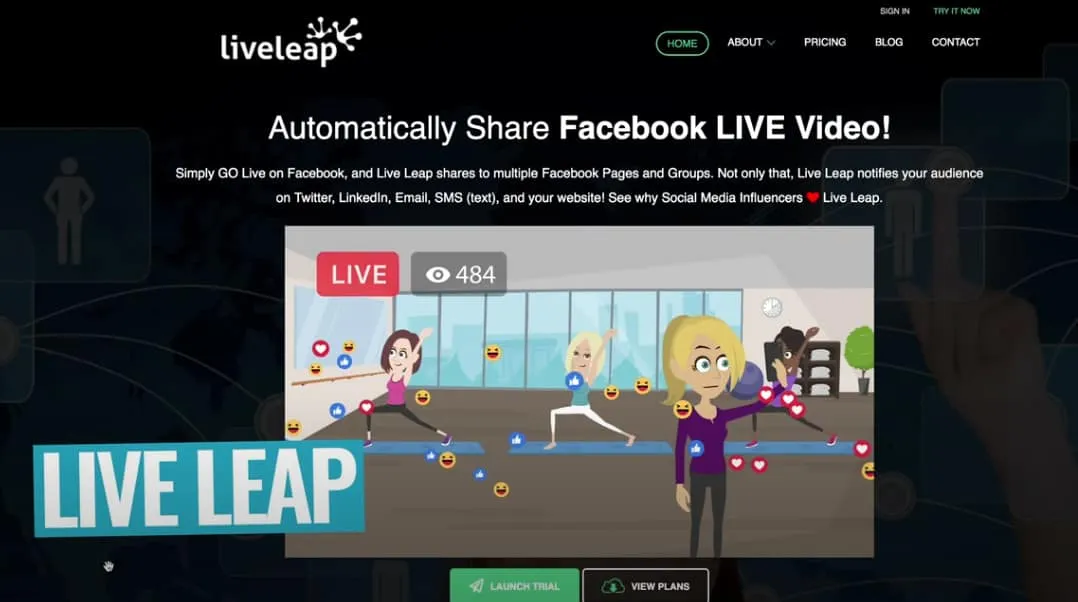
That means you don’t have to worry about getting the word out while your content is streaming - Live Leap takes care of that for you. In addition to Facebook, you can even notify viewers on Twitter, LinkedIn, email, SMS, and your website.
Step #9: Go Live!
The time has finally come to go live! Just press the broadcast button and start streaming to the world. As soon as that happens, remember to capture the audience’s attention with a strong hook to let people know what they’ve tuned in to watch.

A strong hook isn’t just beneficial for the viewers who jump on as soon as the content goes live. It’s also extremely useful for viewers watching the replay.
That’s a big reason for keeping the hook and content short and sweet without a lot of chitchat welcoming people in; that way, you’re being respectful to the people watching the replay later on.
Additional Live Streaming Tips
In order for your live stream to run smoothly, there are a few more things you can be doing to keep your viewers engaged, like:
- Make eye contact with the audience by looking directly at the camera lens. If you’re using your phone’s front-facing camera, try to fight the urge to look at yourself on the screen and look at the lens instead.
- Tell your viewers how the live stream is going to run. Let them know about the general format of the stream - Q&As, direct interactions, etc. - to set expectations early on.
- Be aware of your surroundings. Distractions in the background will not only be distracting to your audience, but also to you.
Lastly, always try to HAVE FUN! One of the best things you can do to boost viewer engagement is to bring good energy to the live stream, so just have fun with it - and your viewers will, too.
Now You Know How to Live Stream Like a Pro!
There you have it - the complete checklist for how to live stream on smartphone devices!
Now you can ‘go live’ with confidence knowing that you did everything necessary beforehand to deliver quality content to your viewers.
Interested in learning more tips and tricks for creating quality video content? Check out our guide on the ULTIMATE Process for Editing Videos Faster. This free download will give you tons of video editing tips and tricks that can take your videos to an entirely new level.
Links
Recommended Tools for Live Streaming
Recommended Tutorials: