Learn how to make animated titles for video, quickly & easily! Here’s the top tools to help you create professional text animation & text effects without needing pro-level software like After Effects.
Important: When available, we use affiliate links and may earn a commission!
Below is an AI-assisted summary of the key points and ideas covered in the video. For more detail, make sure to check out the full time stamped video above!
How To Make Animated Titles Step-By-Step
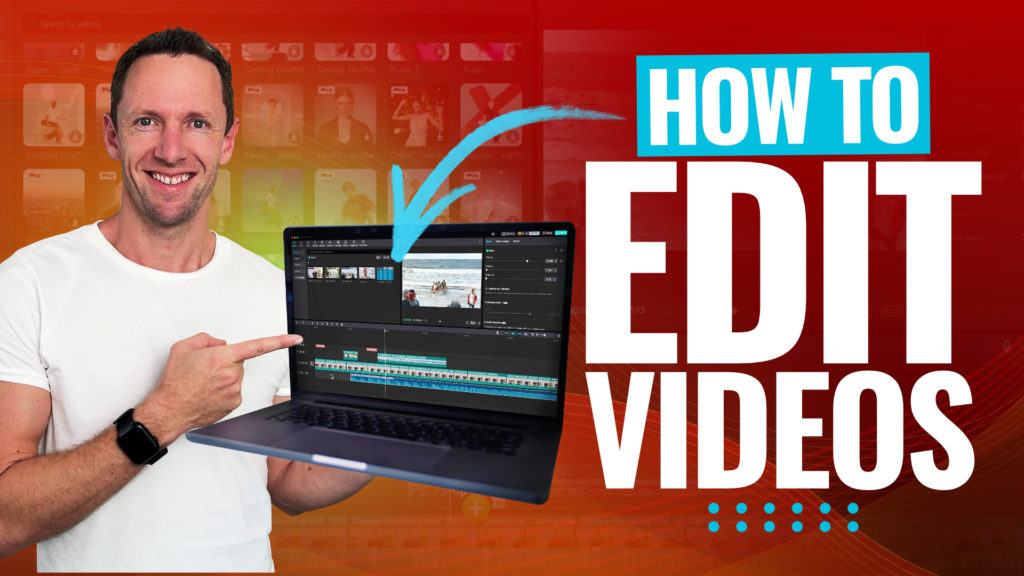
Creating animated titles can greatly enhance the visual appeal of your videos. This tutorial walks you through three different methods to create custom text animations and effects using various tools, ensuring your content stands out.
Method #1: Using Built-in Text Tools
Tools Used:
- Your Video Editing Software (e.g. CapCut)
Steps:
- Open your video editing software: Import your footage and go to the Text section.
- Add default text: Customize the text with your preferred font, color, and style.
- Animate text: Apply animations for both the text’s entrance and exit.
- Use templates: Explore pre-made animated text templates and customize them.
Key Points:
- CapCut offers numerous free animations and effects.
- Simple animations can significantly enhance your video quality.
- Customizable templates save time and effort.
Pricing:
- Free
Method #2: Using Online Tool InVideo
Tools Used:
Steps:
- Sign up or log in: Open InVideo and choose to create a new project.
- Select video format: Choose landscape or other formats as needed.
- Customize your canvas: Remove default elements and set a background.
- Add animated text: Browse and select from various categories like typography and social media.
- Customize text and animations: Edit text, change fonts, colors, and apply in/out animations.
- Export your video: Choose between 720p or 1080p export options based on your plan.
Key Points:
- InVideo provides an extensive range of customizable animated text options.
- The tool is user-friendly with real-time previews and fast processing.
- Different plans offer various export quality and features.
Pricing:
- Business Plan: $15/month (billed annually)
- Unlimited Plan: $30/month (billed annually)
Method #3: Using VideoHive Templates In Your Video Editing Software
Tools Used:
- VideoHive
- Your Video Editing Software (e.g. Adobe After Effects, Premiere Pro, DaVinci Resolve)
Steps:
- Visit VideoHive: Browse for templates suitable for your editing software.
- Purchase and download: Select and download desired templates (e.g. $12 for stylish glitch titles).
- Import templates: Follow included instructions to integrate templates into your editing software.
- Customize and use: Edit text, adjust animations, and integrate with your footage.
Key Points:
- VideoHive offers professional-grade templates at affordable prices.
- Templates cover various styles and are highly customizable.
- Suitable for advanced users seeking high-quality animations.
Pricing:
- VideoHive template prices vary but generally cost between $9 and $20.
Conclusion
This tutorial offers three methods to create animated titles, catering to different skill levels and needs. CapCut provides a straightforward approach, InVideo offers extensive customization online, and VideoHive delivers professional-quality templates. By using these tools, you can easily enhance your video content with engaging animated titles.
If you want to learn how to edit videos faster and more efficiently in any video editor, check out our free PDF guide The Primal Video Method. It’s the ultimate process to help you streamline your video editing workflow and minimize wasted time!