One of the easiest ways to level up the quality of live streamed content is to ditch your computer’s built-in webcam and use a video camera instead. By using a mirrorless or DSLR camera as a webcam, it’s possible to instantly boost the quality and level up your video creation projects.
Many people just settle for their built-in webcams because they assume that the process for setting up a separate camera to live stream is too difficult. That’s not the case though, and thanks to the latest live streaming software options, it’s actually super simple.
Important: When available, we use affiliate links and may earn a commission!
In this guide, we’ll be covering the exact steps on how to use a video camera for live streaming from start to finish. You’ll also learn about the latest and greatest live streaming software right now for both Mac and PC.
So if you’re ready to learn how to live stream with a video camera or DSLR, let’s get started!
How to Start Live Streaming with a DSLR Camera
There are a few different ways you can go about live streaming on a DSLR camera. The one you end up choosing depends on the camera you’re using as well as your preferred accessories, like HDMI vs USB.
In our tutorial, we’ll be focusing on the different steps to live stream from a DSLR, including:
- How to Live Stream with HDMI Interface Unit
- How to Live Stream with DSLR’s USB
- How to Set Up a DSLR as a Webcam
Before getting into the how-to-do-it part, it’s important that you understand the benefits of using a video camera to live stream (as well as the few minor drawbacks).
Benefits of Live Streaming with a Video Camera
There are some big advantages to using a video camera in place of a webcam. The biggest benefit is the improved look and feel of the content that a camera is able to produce. A webcam just isn’t designed to deliver the same high-quality footage as a DSLR or video camera.
Yet another great thing about configuring your DSLR as a webcam is that the same process can be used for shooting pre-recorded footage, like online interviews with Zoom or Skype.
Here are a few more benefits when you live stream with DSLR and video camera:
#1 Ability to Capture a Blurred Background
With the right video camera, you’ll be able to capture a much shallower depth of field in the shot. This creates that blurred look that many people strive for in order to separate the subject from the background.

#2 Better Performance in Low Light
Another reason to use a DSLR camera as a webcam is to enhance the content’s lighting. Compared to your standard webcam, cameras can perform much better in low-light settings.
#3 More Control With Manual Settings & Auto Focus
Unlike a webcam, cameras come with tons of manual settings that can improve the shot’s overall look and feel. This means that you can dial everything in when it comes to things like contrast, frames per second, resolution, focus, and more.
Speaking of focus, cameras are generally much better at auto-focusing a shot. This means that you won’t have to worry about going in and out of focus as you stream, which can be extremely distracting to your viewers.
#4 Option to Use Additional Camera Accessories
If you have a go-to camera that you use for filming content, there’s a very good chance that you’ve invested in some accessories to help with the production process.

You’ll be able to use all of these accessories – microphones, teleprompter, portable lights, etc. – when you live stream with a video camera.
Disadvantages of a DSLR for Live Streaming
#1 Battery Issues
Battery life is the biggest downside to using a video camera or DSLR as a webcam. If you’re using a camera with an average battery lifespan, just keep in mind that the battery will drain even faster than normal when it’s delivering live streamed content.
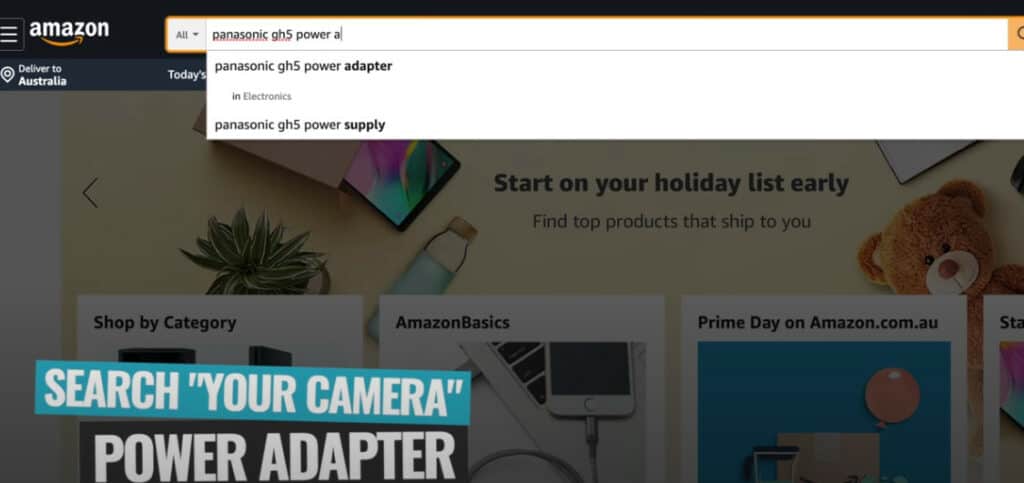
Luckily, there’s an easy solution to the battery issue; just purchase a power adapter that’s compatible with your camera’s make and model.
#2 Audio Sync Issues
Audio sync issues are fairly common with a streaming video camera, and it usually has to do with a misstep in the setup process. Luckily, there are some easy fixes, so check those out below.
Now it’s finally time to cover the different setup options for how to use DSLR for live stream content.
Option 1: How to Live Stream with HDMI Interface Unit
The first way to start live streaming from a DSLR is to use an HDMI interface unit. This is a small device that allows you to connect a camera directly to a computer through the camera’s HDMI port and a computer’s USB.
Why Use This Method?
The thing we love most about this method is that it’s compatible with a lot of cameras; yours just needs to have an HDMI port (or a mini/micro HDMI). You’ll also need an HDMI cord, but these are super cheap and easy to come by.
Another great thing is that you won’t need to install any additional software on your computer. After connecting the HDMI interface unit, the computer will literally start reading your camera as if it were another webcam.

As long as you’re using a camera that supports clean HDMI (more on that in a bit), your audio feed should be imported along with the visual feed. That means if any microphones are connected to your camera, the audio will automatically transfer over and sync up with your live footage.
Top Pick for HDMI Interface Units
The most popular HDMI interface unit available right now is the Elgato Cam Link 4K. This little guy is actually so popular that it’s often out of stock, so if you need to find an alternative, the Elgato HD60 S+ is another good choice.

The main advantage of choosing the 4K model over the HD60 is that it streams in up to 4K resolution rather than just 1080p. If you end up going with the HD60 S+, make sure you’re getting the “+” model since it’s the most up-to-date.
Pro Tip: Make Sure Your Camera Supports “Clean HDMI”
Before buying a Cam Link, first make sure that your camera is actually capable of outputting clean HDMI.
Clean HDMI means that the streamed footage won’t display any of the on-screen display icons and settings that you’d normally see on the camera while filming. Some cameras allow you to turn these icons off in the camera’s settings.

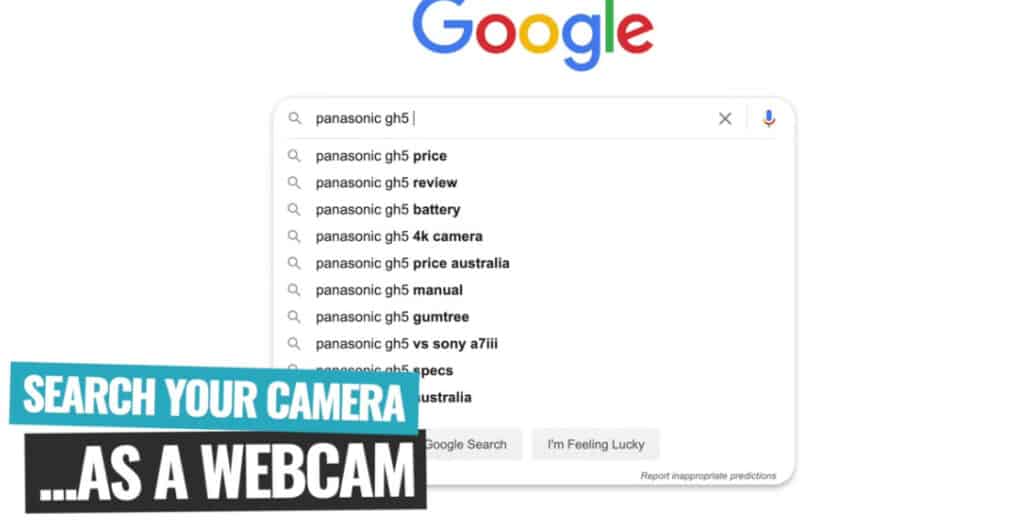
If you’re not sure whether or not your camera supports clean HDMI, just do a quick Google search. Type your camera’s make and model in the search bar followed by “clean HDMI” and you should be able to find the answer fairly quickly.
Option 2: How to Live Stream with a DSLR’s USB
The second option for turning a camera into a webcam is to use a USB. Some cameras have a USB port that can be connected directly to the USB on a computer. Simply connect them up and start using the camera like any standard webcam.
Why Use This Method?
If your camera is designed to work as a webcam, using this method is extremely easy – literally all you need is a USB cord.
The big brands – Panasonic, Sony, etc. – have made it a lot easier to use their products for live streaming by developing apps that make the camera-to-webcam transition simple and smooth. Just download and install the app and connect the camera to your computer via USB. That’s it!
Depending on your specific camera, the quality might be as low as 480p or as high as 1080p, so take that into account when deciding between HDMI or USB.
Pro Tip: Be Aware of Audio Issues
One important thing to note with this method is that some cameras won’t import audio through USB. In this case, only the image will come through, but luckily, this is an easy fix.
You’ll just have to use a USB microphone and connect it directly to your computer, like the Rode NT-USB or the Rode NT-USB Mini.

How to Set Up a DSLR as a Webcam
Now that you’ve decided between HDMI and USB for transforming your camera into a webcam, the next step is to go through the setup process.
Start by downloading the specific webcam software you want to use based on your camera’s make and model. Then, connect your camera to the computer using either USB or HDMI and turn the camera on.
Once on, you might have to make a few changes to settings, like switching over to ‘Video Mode’ for most cameras. If you experience bumps in the road along the way, there’s a lot of helpful information in your camera’s user manual, so use it!
That’s all you need to do to have your camera show up as a webcam on your computer screen or monitor. From there, just log into your live streaming software or connect to a conferencing app like Zoom.
Experiencing Audio Sync Issues? Here’s What to Do…
If you notice that the audio isn’t completely in sync with the video, there are a few ways to fix the problem.
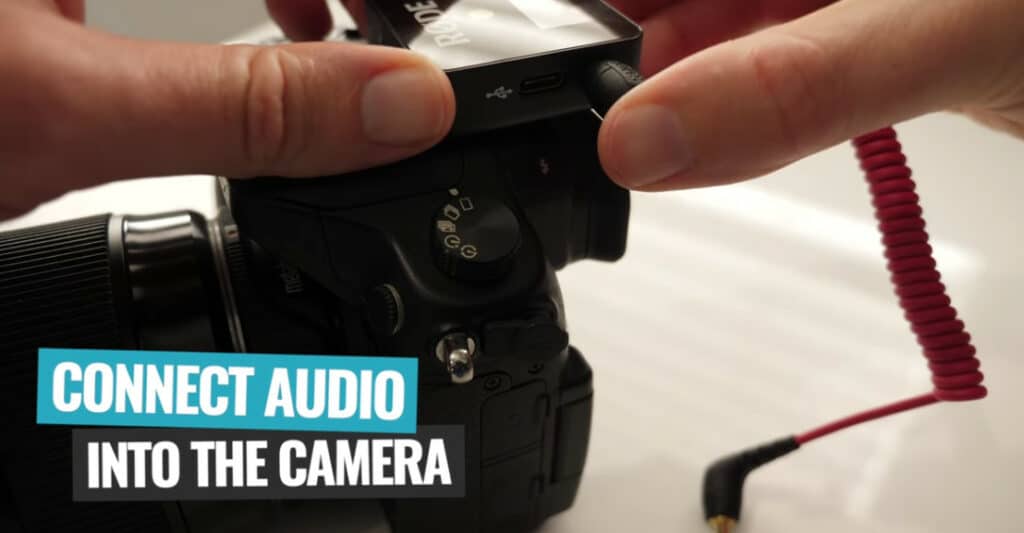
The first thing you can try is to connect your microphone directly to the camera. That way, you know that audio and video will be synced up before being imported to the computer. This minimizes the risk of audio sync issues while streaming.
Not all audio gear allows for this option, so another way to fix audio issues is to make manual adjustments within your live streaming software.
Whether you’re using OBS, vMix, Wirecast, or something else, you should have the ability to manually adjust audio within the software interface so that it syncs up perfectly with the visuals.
Animated Titles: Another Way to Level Up Your Live Streams
Switching over to a DSLR for your live streams is an easy way to level up your content, but there’s more you could be doing – like creating animated intros, titles, and outros. Incorporating animated titles and graphics within your live streams adds a lot of value to the content.
The best part of all is that it’s not that hard to do when you use a website called Placeit, so check out our tutorial to learn exactly how you can make video intros using Placeit.
Now You’re Ready to Live Stream Like a Pro!
There you have it – the complete guide on how to stream with a camera as a webcam.
Now you don’t have to rely on your sub-par webcam to deliver quality content to your viewers… just use your high-quality DSLR instead!
If you’re new to live streaming and want to get up-to-speed on all aspects of going live, check out our complete tutorial on live streaming on YouTube!
For more information on how to get your videos ranking, check out our FREE YouTube Ranking Guide. In this guide, we cover the 3 most powerful tools and ranking strategies to increase your YouTube traffic by 10x!
Links
When available, we use affiliate links and may earn a commission!
Recommended Tools for Live Streaming
- Elgato Cam Link 4K (Amazon)
- Elgato HD60 S+ (Amazon)
- Rode NT-USB (Amazon)
- Rode NT-USB Mini (Amazon)
- Placeit
Recommended Tutorials:
Recommended Gear & Resources
Check out an up-to-date list of all the gear, software & tools we use and recommend right now at Primal Video on our resources page here!
Related Content